Green Clean Your Home in 7 Easy Steps!
During Live! Kelly & Ryan’s GO GREEN week, I was thrilled to share some easy, non-toxic and natural ways to clean your home! Swap one or two of these cleaning techniques (if not all 7) to make your regular routine greener, as small changes really add up over time and Mother Earth will thank you!

KITCHEN: OVEN

Kelly finishes step 2, while Ryan steps up with a spray bottle filled with distilled white vinegar for step 3.
Avoid potent chemicals from store-bought cleaners and make your own oven cleaning paste.
Remove any large debris with a washcloth, and remove racks
Create a paste of baking soda and water and spread it on the base of the oven and/or on the oven door. These two elements work as a softener and a non-abrasive cleaner.
For super tough, baked-on stains, fill a spray bottle with distilled white vinegar, and spray this atop the paste: which will further break down the crud and cause a light sizzling. (Why does this reaction occur? As white vinegar, an acid, mixes with baking soda, a base, they create water and release carbon dioxide to create a bubbling.)
Allow paste mixture to sit for about 30 minutes.
Use a non-abrasive scrub pad to work the paste and clean the oven.
Remove paste and debris with a damp cloth.
KITCHEN: STAINLESS STEEL EXTERIORS

Buffing my dishwasher with olive oil on a microfiber cloth.
You can use a commercial spray for stainless steel along with a microfiber cloth OR you can create your own green cleaner to make stainless steel shine!
Place a small amount of environmental dish soap with warm water in a bowl. Top off with a squeeze of fresh lemon juice (anti-bacterial). Wipe down the stainless steel exterior with a soft sponge.
Once clean and dry, then buff on a drop of olive oil on a microfiber cloth to bring the surface to a shine; going along the grain of the stainless steel for best results.
KITCHEN: THERMOS & WATER BOTTLES
How often do you clean your water bottles? It’s really important to clean them daily and definitely give them an overhaul seasonally to ward off germs and bacteria from forming in something that we sip from every day! Here, we’re fighting against mineral buildup, germs & bacteria… and our own backwash!

Kelly and I discuss the forgotten places you can find dirty, reusable water bottles in the home.
Here’s how you clean mold off of plastic.
Fill a bucket halfway with warm water
¼ cup bleach and ¼ distilled white vinegar
Allow bottle or lid to soak
Go over molded areas with a toothbrush or bottle brush
Rinse with warm water and soap, dry.
Here’s how you freshen up a funky-smelling water bottle:
You need to clean all: bottle, straw, mouthpiece.
Fill bottle with a 1:4 ratio of distilled white vinegar to water.
Let sit for 30 minutes
Rinse thoroughly until vinegar scent fades. Clean and gently scrub inside and outside (ever put your water bottle in a holder at the gym? Uh-huh) of the water bottle using bottle and straw brushes. Allow to airdry (I prefer not to towel dry. The bottle absorbs any scent from the towel, and the towel if damp is another breeding ground for bacteria.)
As a final step, if your bottle is top-rack, dishwasher safe, then run it through a cycle for a final disinfection.
KITCHEN: GARBAGE DISPOSAL
So, there’s lots of conflicting information as to what to throw down your garbage disposal to get it smelling fresh and working optimally. Here’s what works, naturally:
How to clean your garbage disposal without chemicals:
Step 1: Plug the drain and fill the sink with hot, soapy water. Unstop the drain and run the disposal (this gives it a rinse)
Step 2: fill the disposal with 1 cup of ice and ½ cup of salt. Run the disposal, turn it off. (this gives it a coarse exfoliation)
Step 3: add ½ cup of baking soda. Let the mixture sit for an hour, then follow up with ½ cup of vinegar. Turn on the cold water tap and run the disposal for one more minute. (because of vinegar’s high acidity, it’s an excellent cleanser)
Step 4: For extra freshness, finish by disposing of a chopped lemon wedge while the tap is on. (this refreshens)
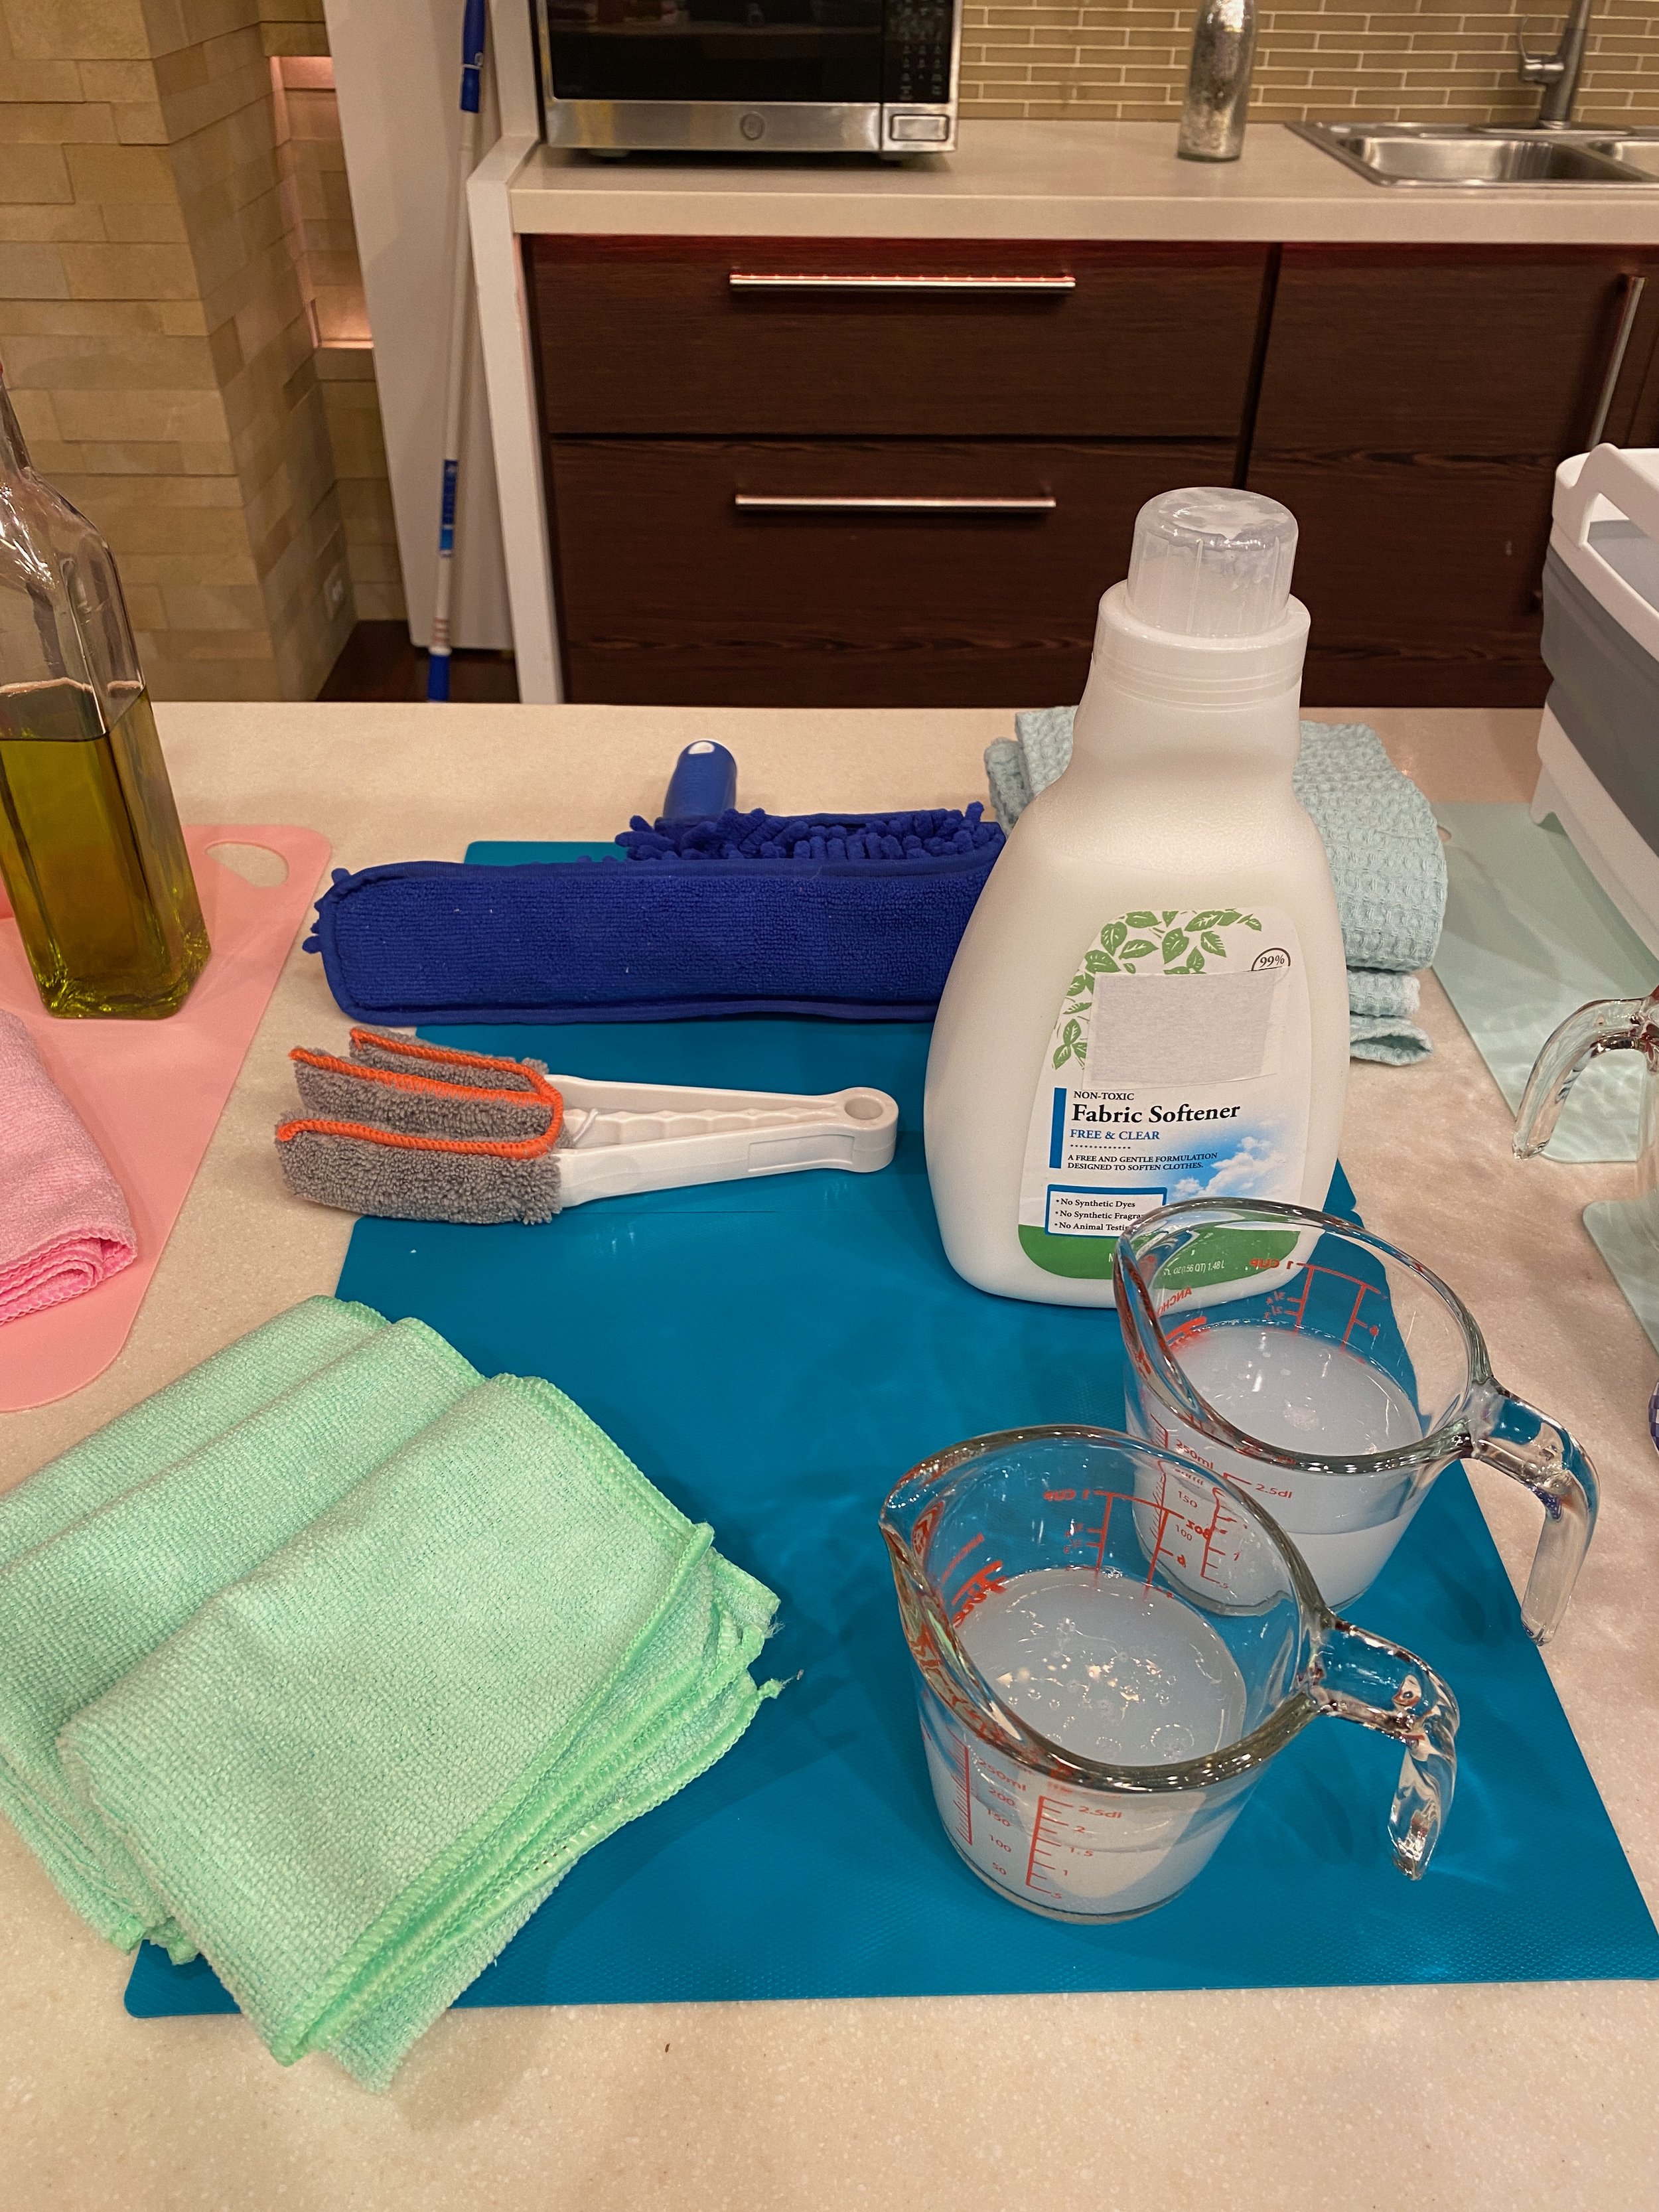
LIVING ROOM: DUSTING
Easy green techniques to better combat dust and dirt:
Start working from top to bottom (think ceiling fans and tops of bookcases!), dusting down high things and working your way down.
Use a microfiber cloth which, collects dust. A feather duster just pushes the dust into the air, whereas microfiber has a positive charge and dust has a negative charge thus, microfiber attracts dust and holds on to it..
You can also wipe down items with a damp cloth using a solution of 1 part environmentally-friendly fabric softener to 2 parts water. Fabric softener has antistatic properties, which will help repel dust a little longer until your next dusting session.
When done dusting, vacuum: sucks up the remaining dust that has been dislodged
LIVING ROOM: INDOOR PLANTS
When I was growing up in the 70s, my mom used to shine our indoor plant leaves using some kind of chemical concoction out of can. She was always shining up the leaves, and she made me do this as part of my chores.
I have several friends who buff their plant leaves with a drop of olive oil and a soft cloth? While this is natural, there are some plant experts that believe that clogs a leaf’s pores, and they need those pores to breathe!

Here’s how you clean indoor plant leaves:
Take a microfiber cloth.
Work your way around the plant taking off surface dust from both top and bottom of leaves.
Be gentle! The plant demoed on the show is a Fiddle Leaf Fig houseplant, and it’s known as a very sensitive variety. I selected this for the sole purpose of pointing out that you may wish to test a couple of leaves before you do the entire plant.
BEDROOM:
Did you know that we’re supposed to wash our bed pillows every 4 months? This applies to FOAM pillows, which, unlike their fiber-filled and down counterparts, cannot just be thrown into the washing machine.
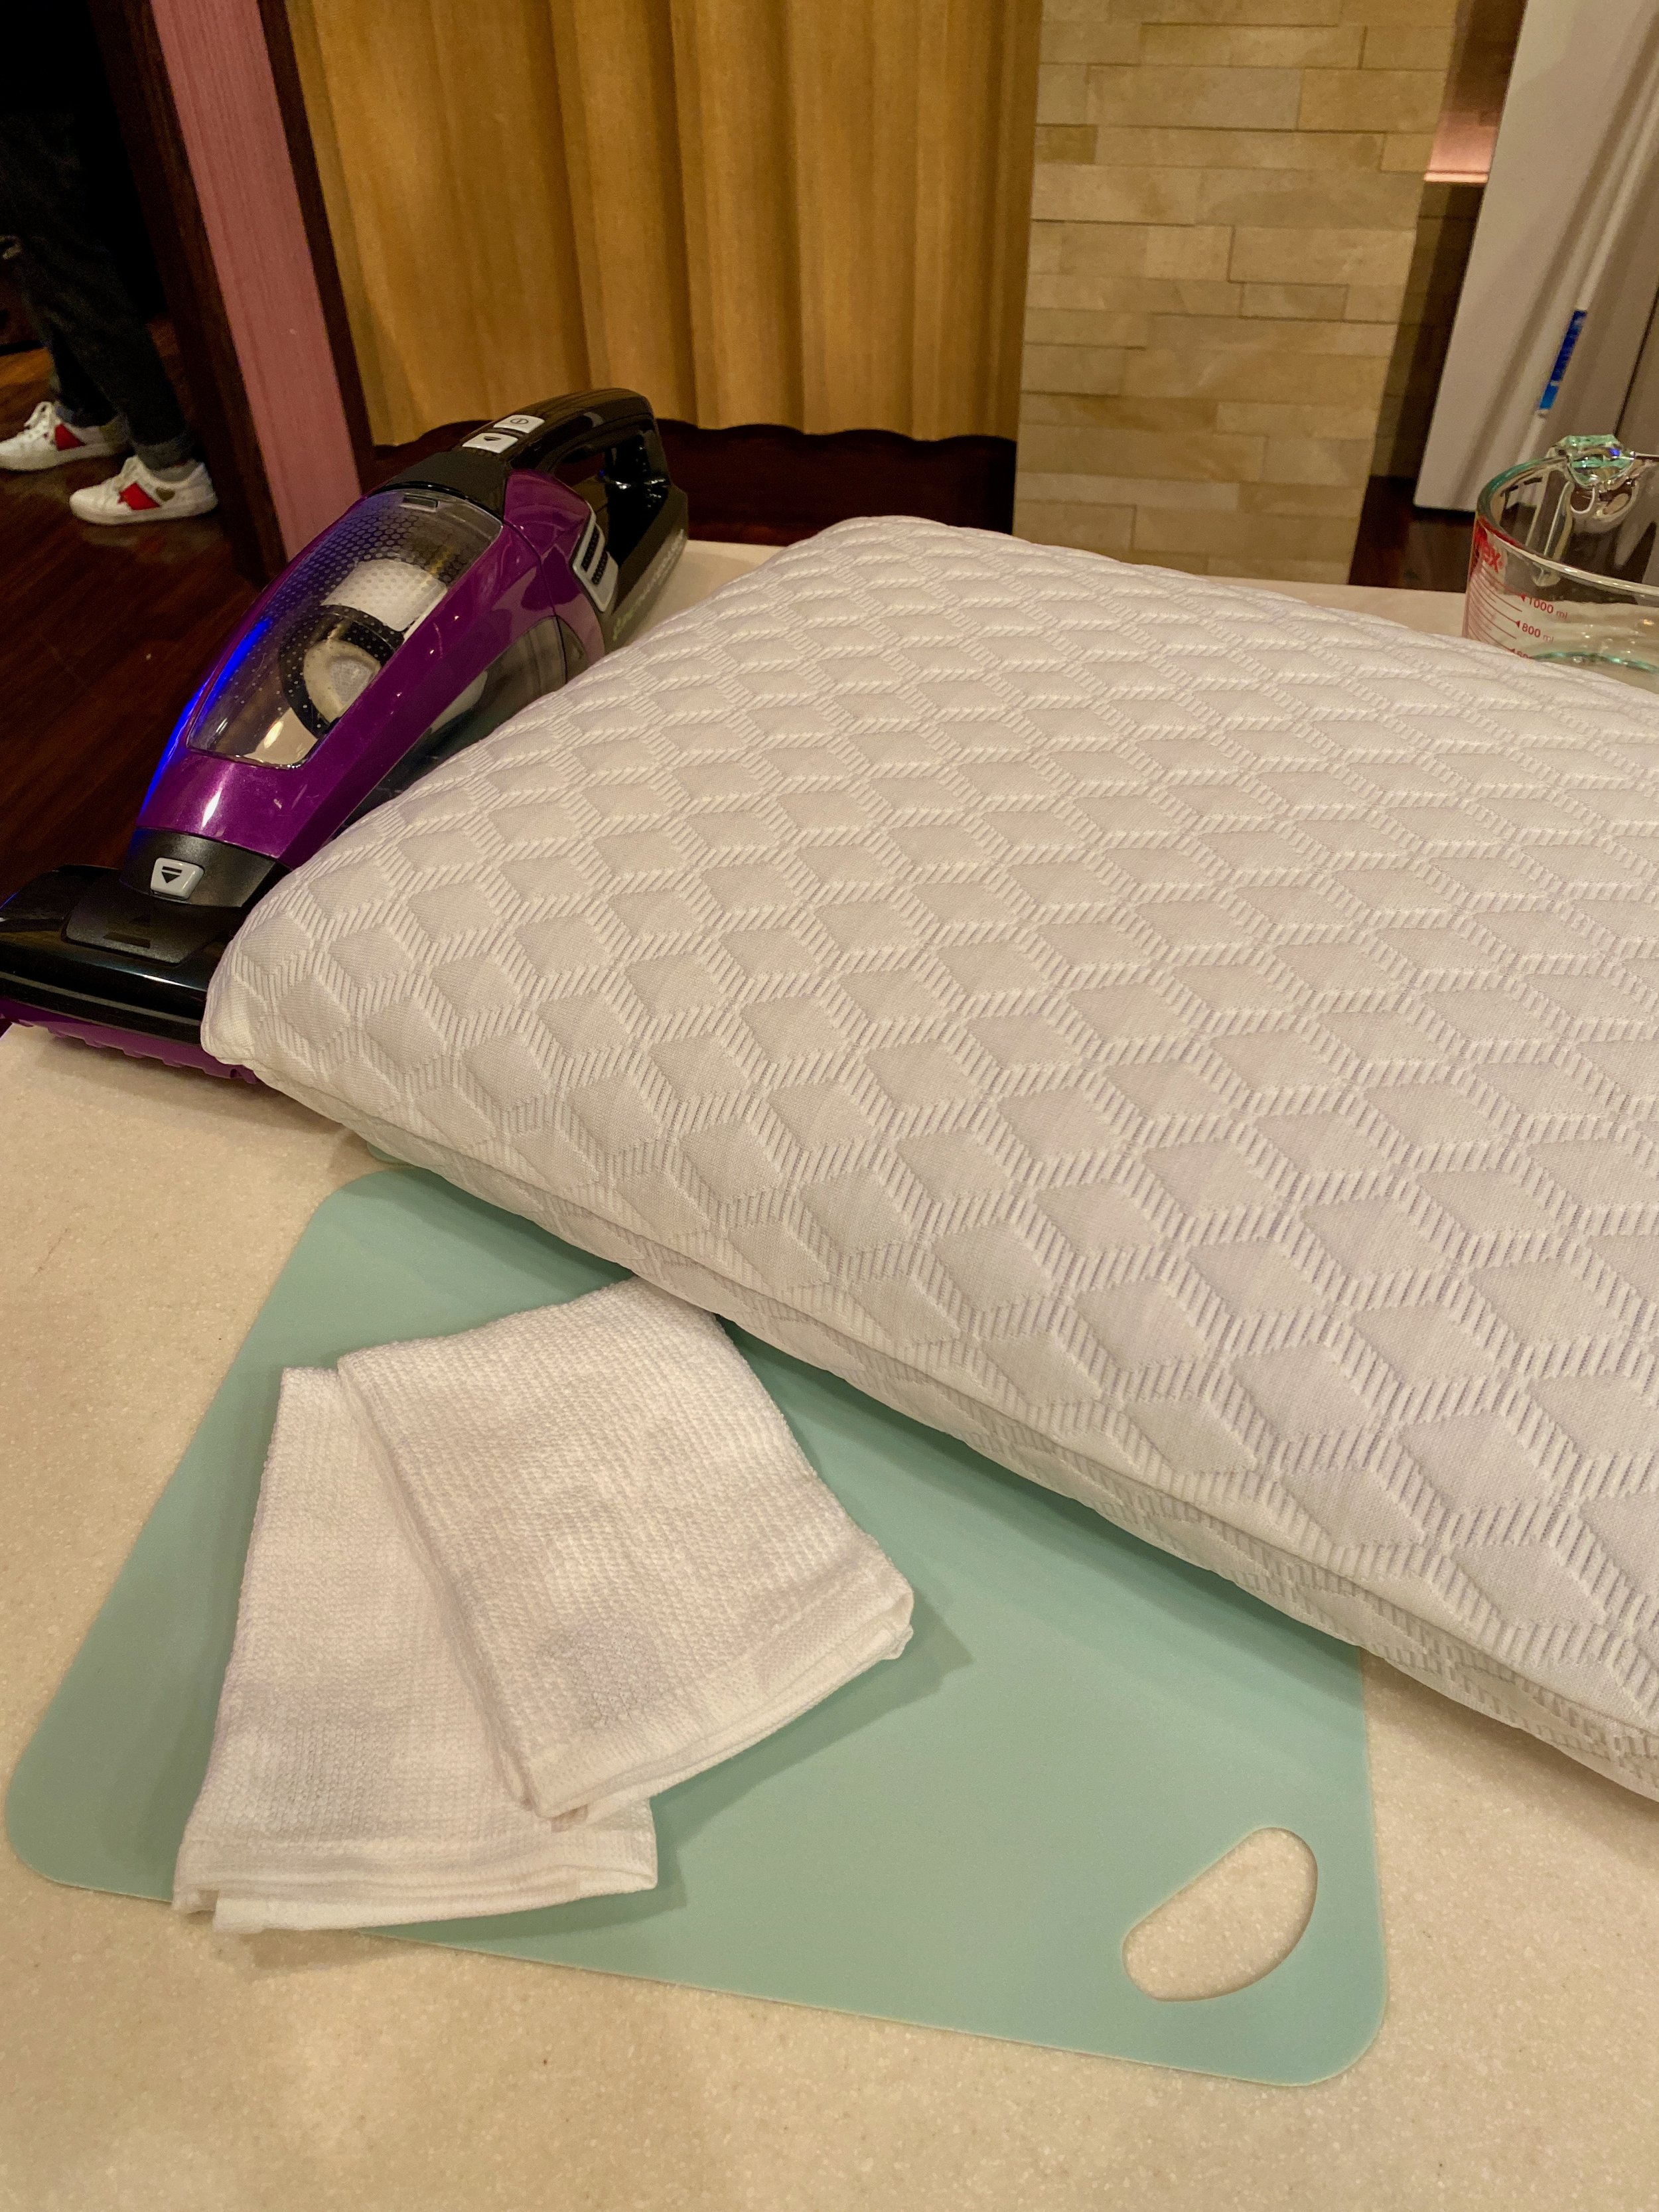
How to Clean Solid Foam Pillows
Get your pillow naked: remove pillow covers or cases and wash those cases according to the care tag (most people do this when washing their sheets, but just in case you don’t…).
To get rid of dust on the pillow, vacuum both sides with a small, hand-held suction tool OR tumble in the dryer on the no-heat cycle for 20 minutes.
Spot clean any soiled areas with a cloth dipped in a mild sudsy soap solution. Lightly rinse with a damp cloth. Tread gently, not too much water.
Allow the pillow to air dry completely before putting it back on the bed or couch.
Additional pointers:
Guess what? Most down and fiber-filled pillows are machine washer friendly! Follow the instructions on the label.
Whatever I say, follow the instruction on your pillow’s label.
Want to watch the segment and all of these tips in action? Take a view here!