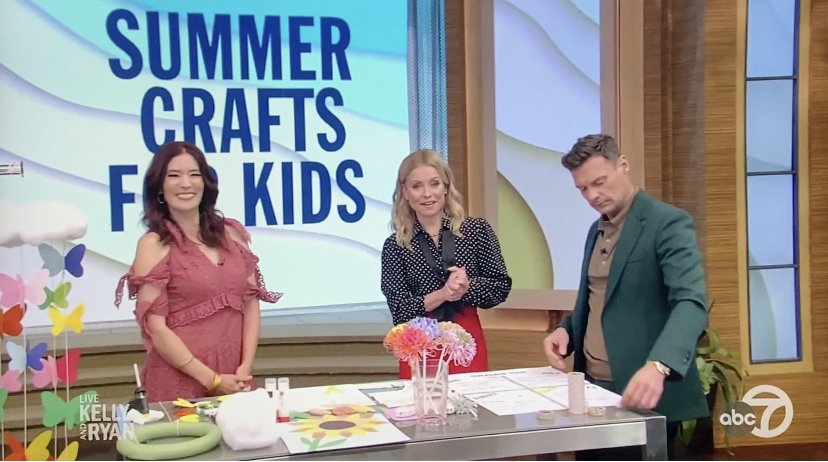
Summer Crafts for Kids!
It’s been a long year, but this summer is all about reclaiming our fun with easy-to-do, affordable crafts as seen on ABC’s Live! with Kelly and Ryan! that the whole family can jump into!
Create a Monthly Summer Fun Activity Calendar

We all need things to look forward to!! I actually created this Activity Calendar last year for my family, with each family member chiming in on what they wanted to do. I’ve just added a trip to the lavender farm to the wall!
What You’ll Need
4 pieces of white, printer paper
washi tape or tape
wall-safe tape
washable markers
fun stickers, festive Post-its (optional)
Using tape (washi tape is the most festive!), create your own poster paper by taping together 4 printer papers. Use a computer to print the summer months in a large font, cut and add to poster. Tape up to a wall with wall-safe tape, and have family members fill in with washable markers the different activities they want to do all summer long as a fam! You can do this with your grandkids too!
This is a great reminder for seasonal activities that are upcoming but you don’t want to miss.
Tip: if you are working about the washable markers leaking through the paper and marking your wall, double up on the homemade poster paper so that your wall is protected! And for this craft, I would suggest against using permanent makers, which have more of a tendency to bleed through.
Paint Watermelon Terra Cotta Pots!
No better way to make gardening with your kids SWEET, than with these fruity pot additions! And as Kelly says, painting is very soothing. It’s all the more reason for parents to jump in these crafts with the kids!
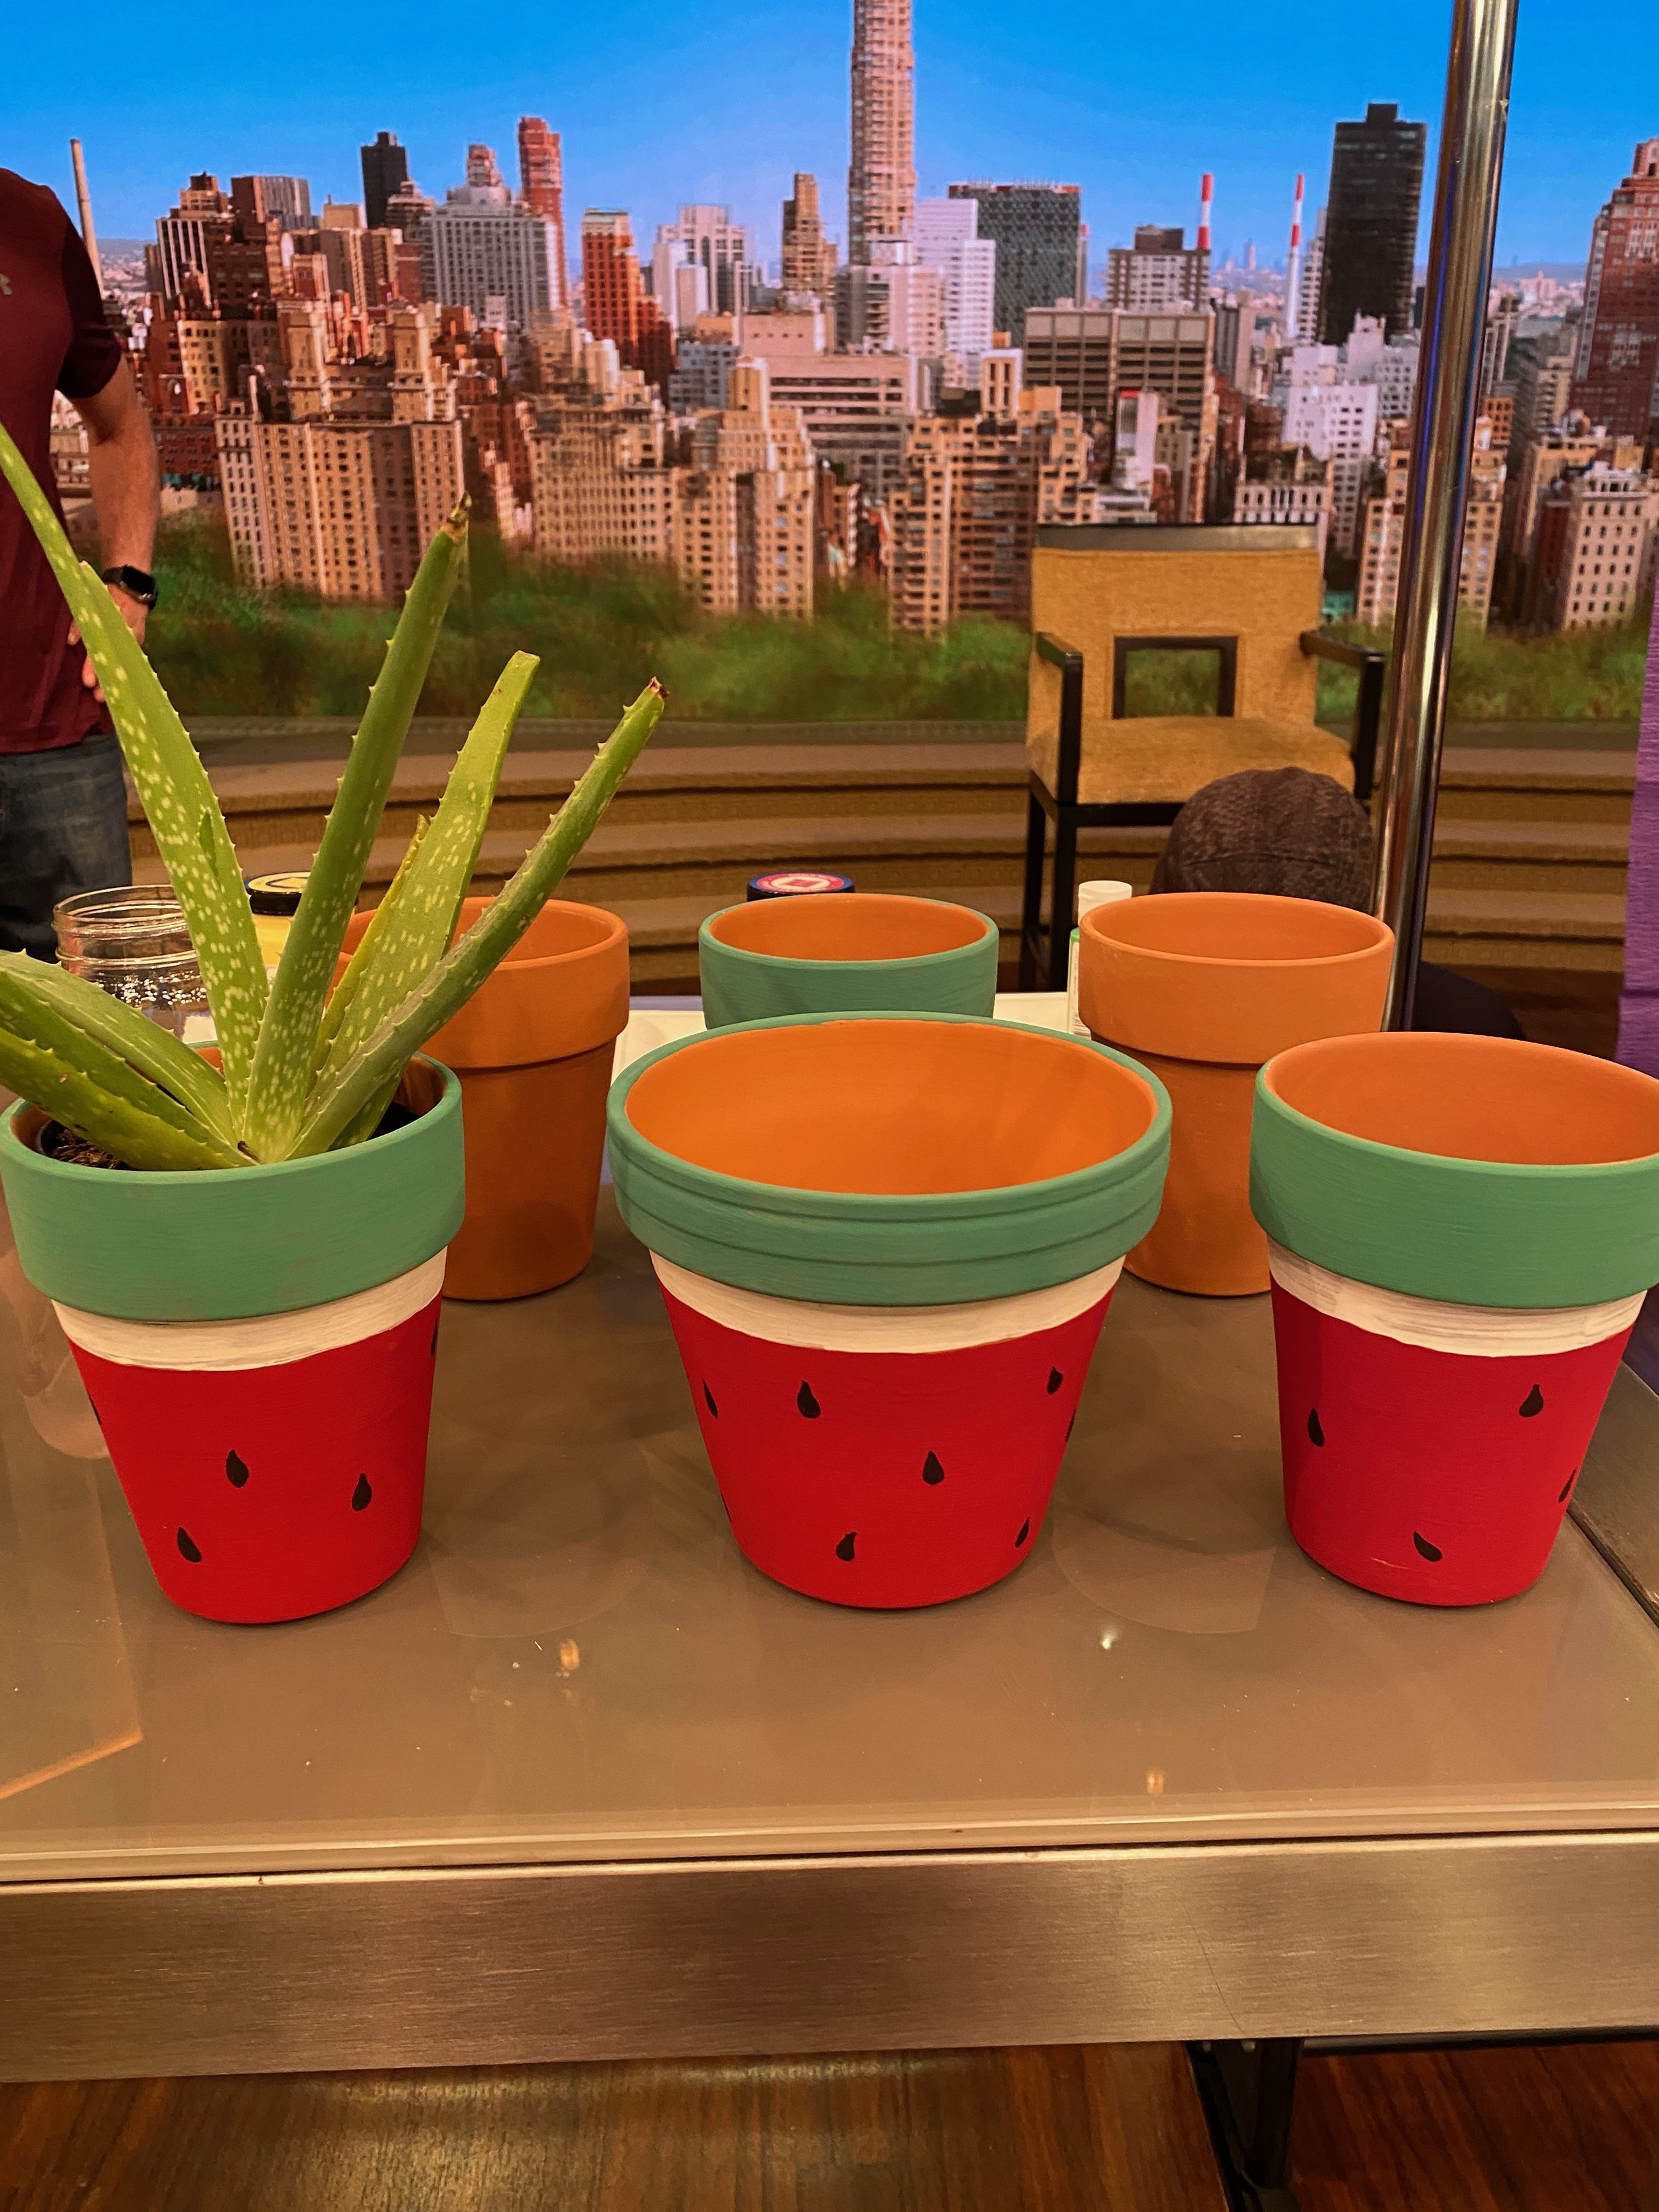
Take summer’s favorite fruit and using chalk paint (acrylic works as well, but the chalk paint has a texture that is readily absorbed by the terra cotta and requires fewer coats), paint the rim of the pot green for the rind, a ring of white, the body of the pot hot pink or red, and once dry add some black seeds with a permanent marker!
Tip: While I used new pots, this is a great way to refresh an old pot that’s looking its age. Simple scrub down with water and a sponge or brush and allow to fully dry before painting.
Juicy Jars: Mason Jars as Strawberries, Pineapples & Watermelon!
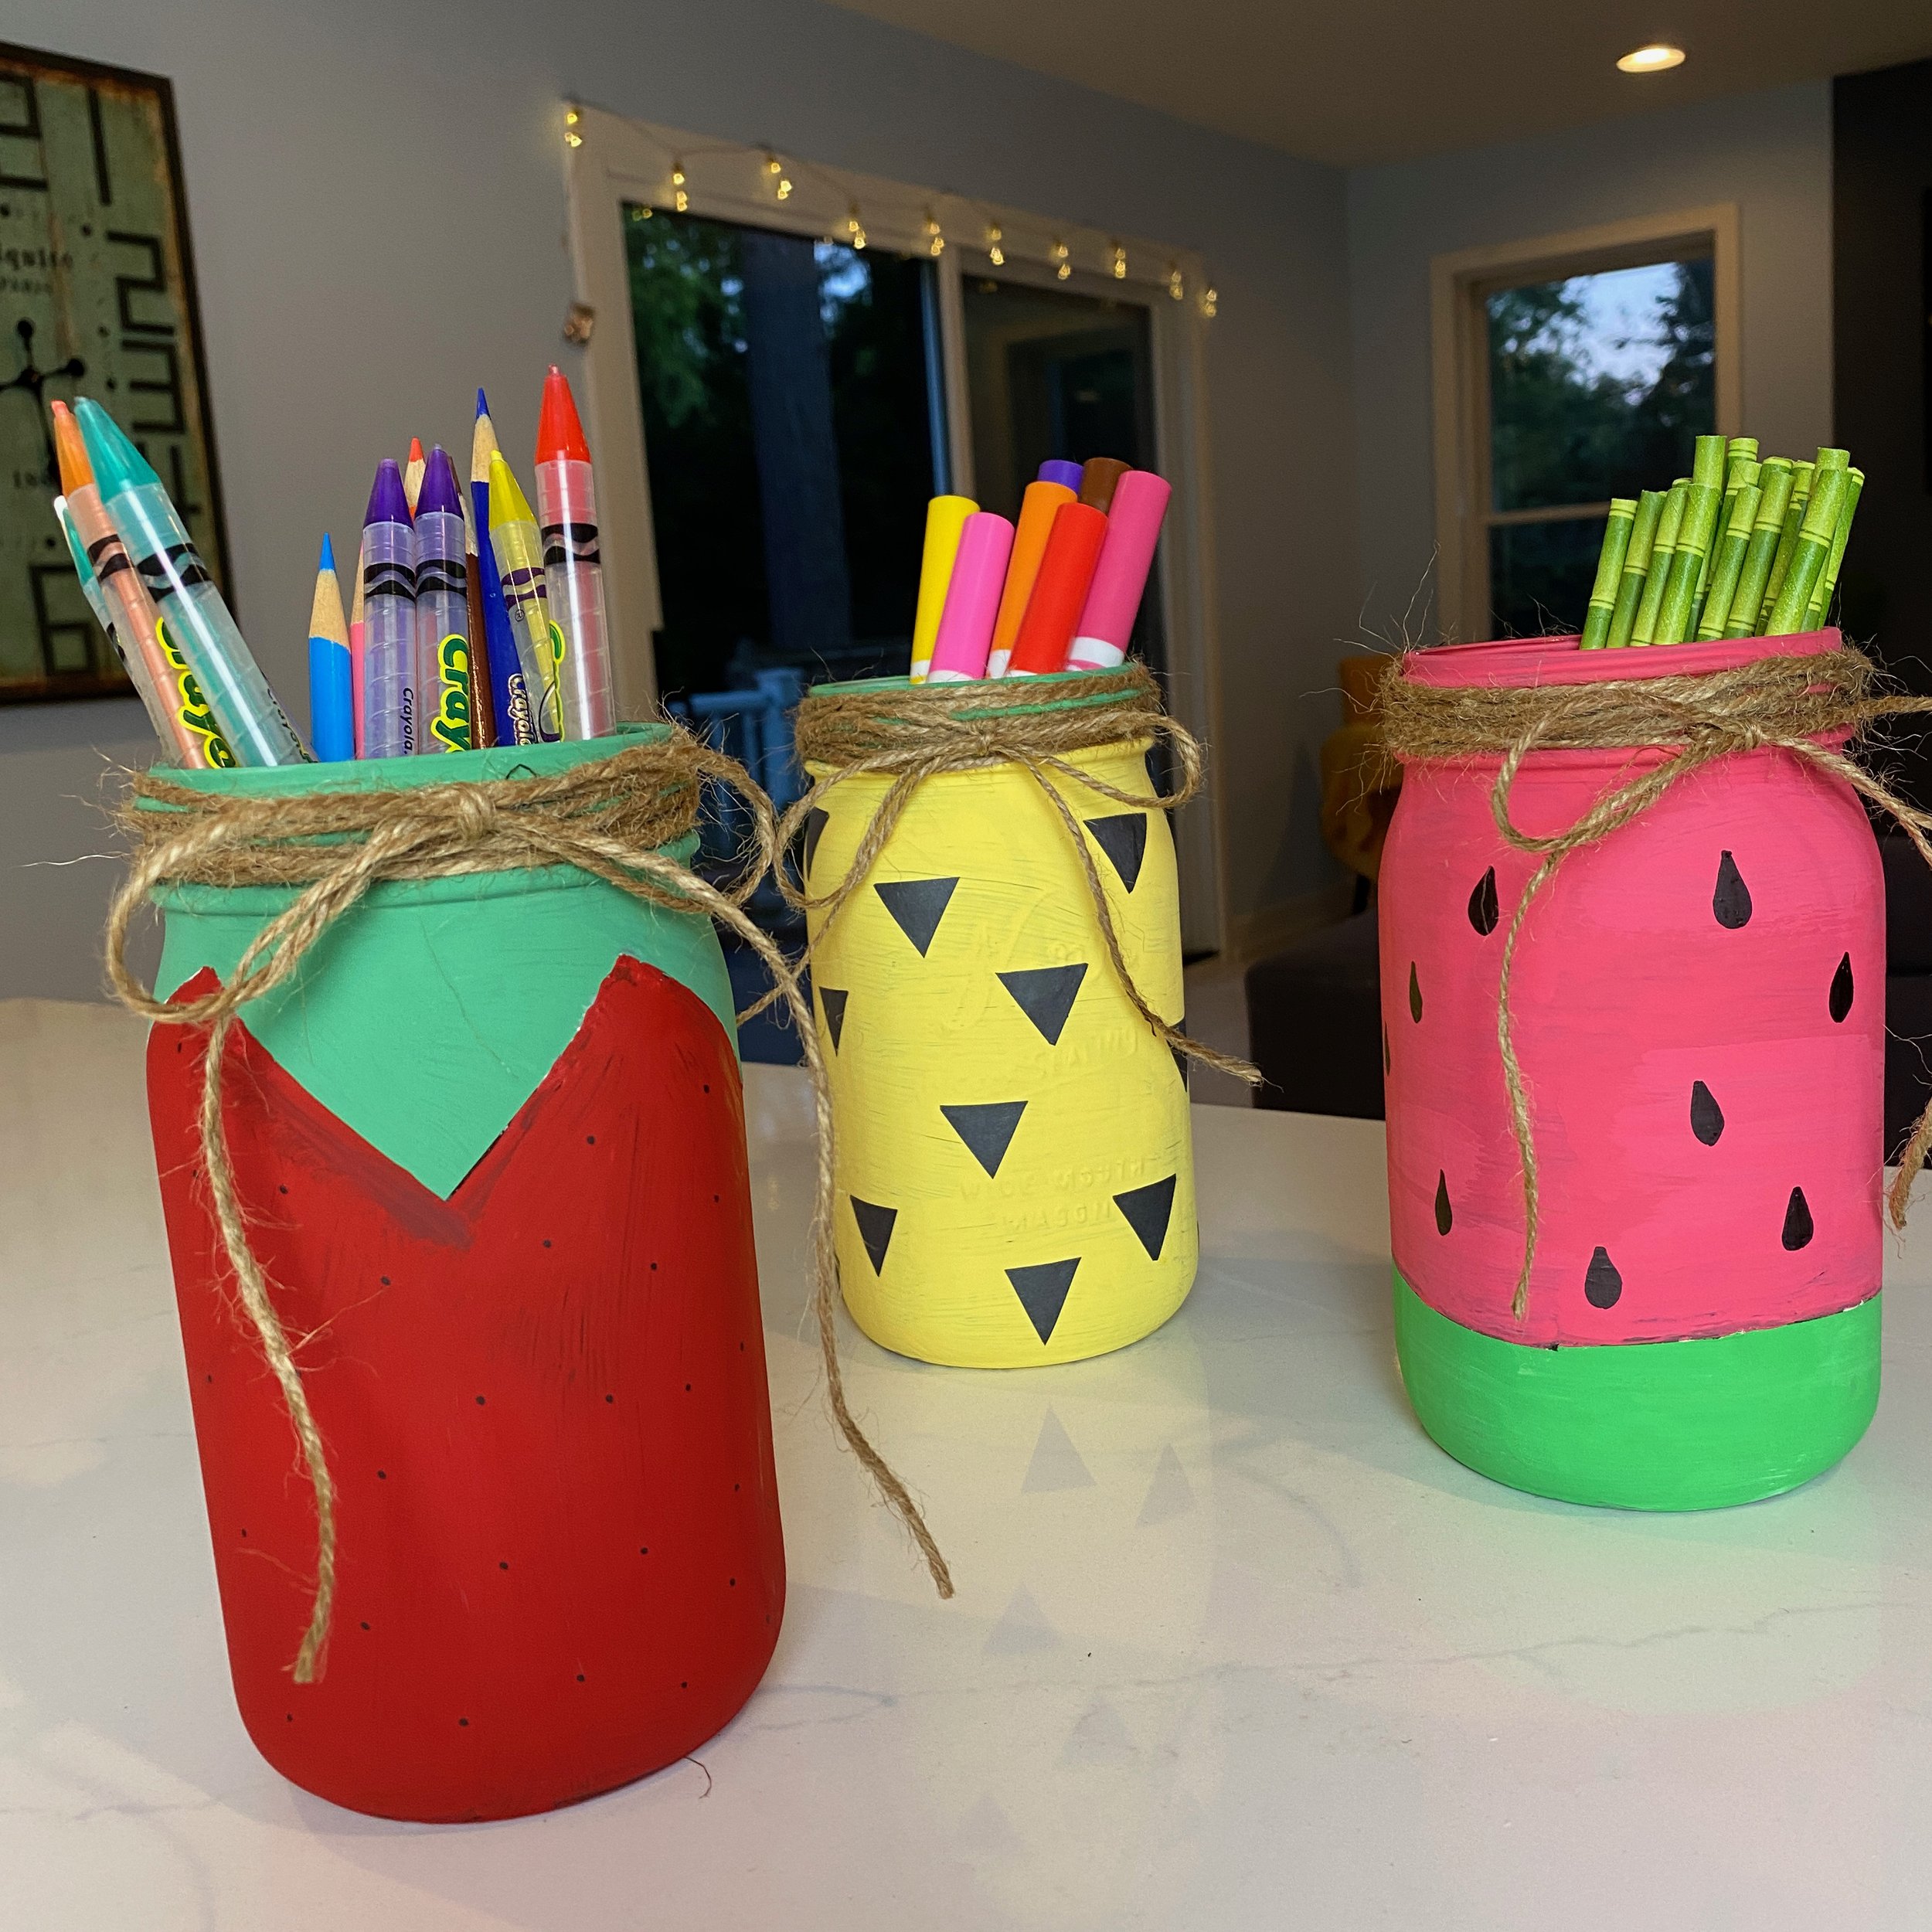
You can similarly use paint to dress up mason jars into a cute assembly of summer fruit! (Did you know that common pasta sauce jars sold at the store are often mason jars? After using the sauce, simply remove the labels and rinse thoroughly! It’s a great way to repurpose what you may currently have in the recycling bin!)
What You’ll Need
Chalk Paint (in pink, red, green and yellow & Paint Brushes
Black Permanent Marker
Black Cardstock cut into triangles for Pineapple detailing
Glue
When working with glass, Chalk Paint is best. Acrylic paint will work, though you might find it takes several coats to achieve desired opacity.
While nothing need be exact, I used painter’s tape to create the points of the strawberry leaves and watermelon rind.
Lastly, while you can draw on the pineapple detailing, I loved how glued-on triangular cutouts of black cardstock really made the pineapple pop!
These are perfect for storing kids’ craft supplies like pens and pencils, small treasures, paper straws and more!
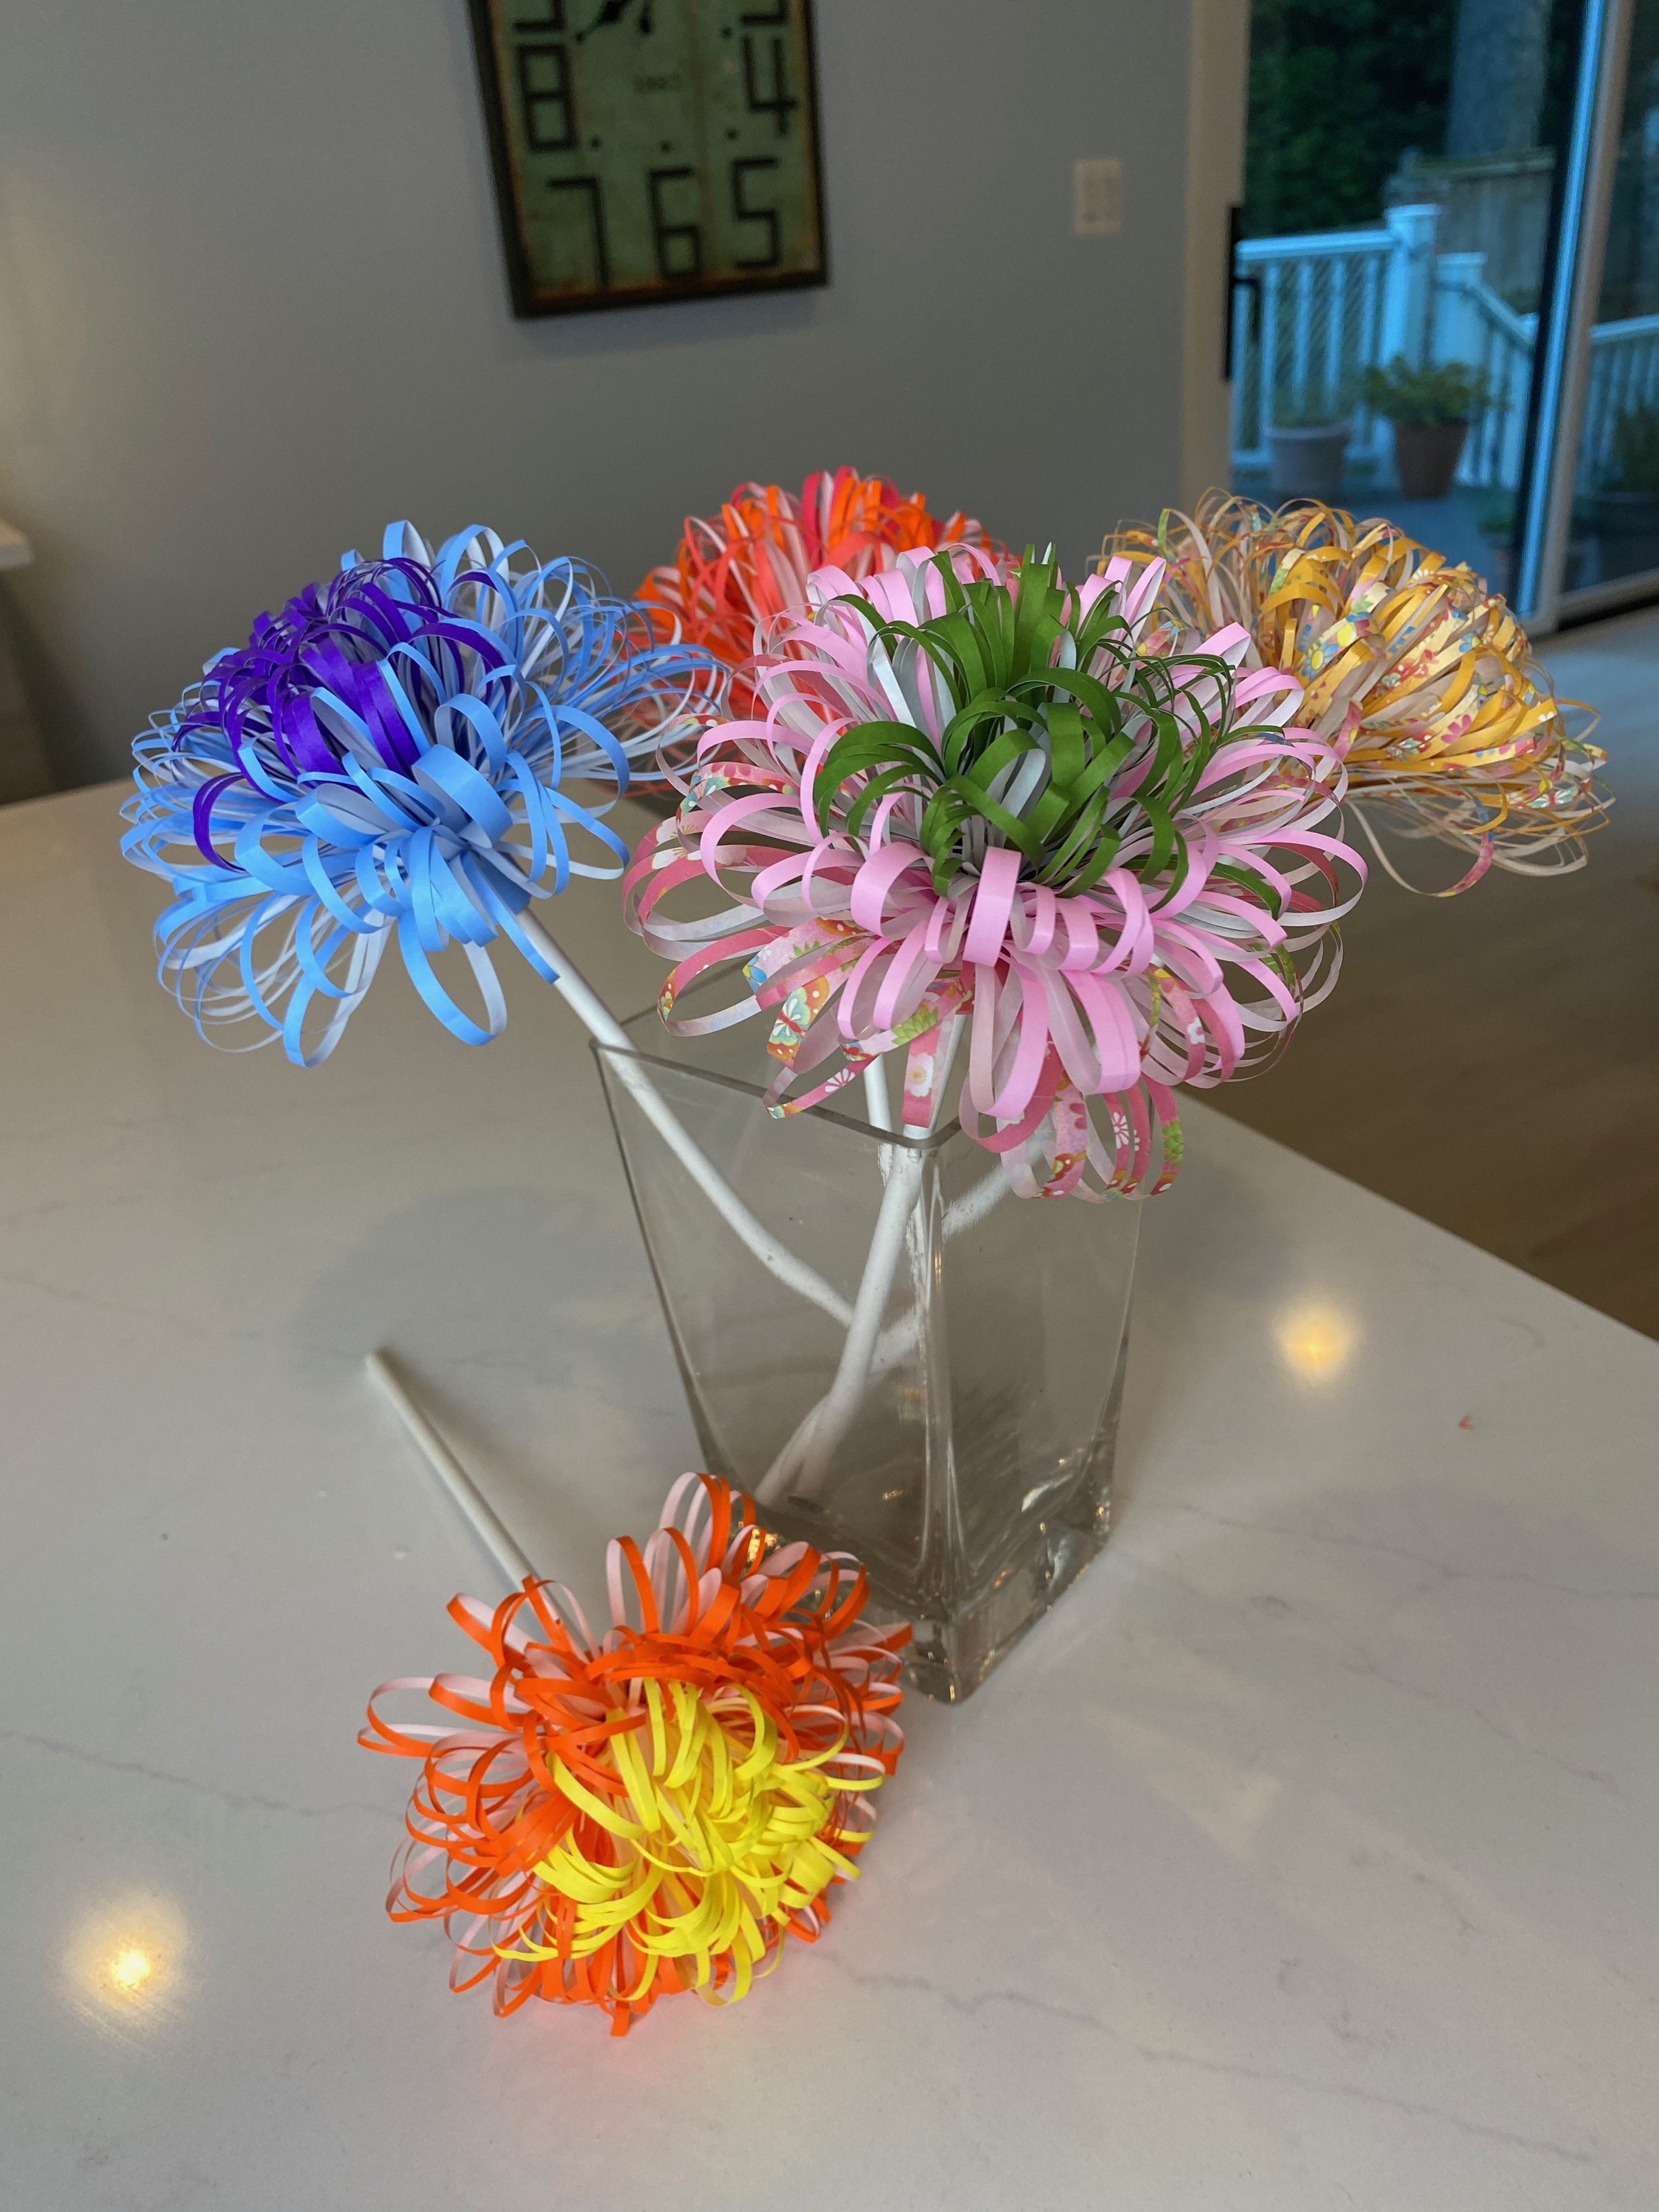
Easy Origami Flowers!
Waiting for your flowers to grow? Make a lush, chrysanthemum paper flower in 3 easy steps! I promise it looks so much more difficult than it is!
What You’ll Need:
Origami Paper or Construction paper
Treat Sticks (think like a cake pop stick, sold at your local arts and crafts store) or White or Green paper straw
Double-Stick Tape Dispenser for Crafting
Scissors
Take your origami paper and if it only has a design on one side, fold in half with the design on the inside. Run your double stick tape dispenser along the unfolded edges, and use scissors to cut thin strips of fringe from the folded end up to the edge of the tape. (Don’t cut through the tape!)
Open up the origami paper and press flat using the palm of your hands. Run your double stick tape dispenser along the other unfolded edge, and bring the two taped edges to meet and seal: this creates a nice “poof” of the fringe.
One last run of the double-stick tape dispenser along the newly sealed edge and then wrap this around a treat stick or straw. Repeat three times to get a full and beautiful chrysanthemum flower!
Watch this quick video tutorial on how to make this easy origami flower!
Glow-in-the Dark Jars!
Kids and adults alike love a nighttime glow! Get the whole family involved in painting these illuminating jars, and have the best evening outside celebrating your mini works of art!

What’s You’ll Need
Jars
Glow-in-the-Dark Paint
Small paint brushes
Water
Apron! (Glow-in-the-dark paint is largely waterproof)
Dot the outside of glass jars (you can reuse anything that you have around the house—I sure did!) with various shades of glow-in-the-dark paint.
Once dry, put on another layer of paint for the best effect.
Once dry, fill jars with water which helps to magnify the glow.
Expose to sunlight. Then take outside at night for an artsy glow you made yourself!

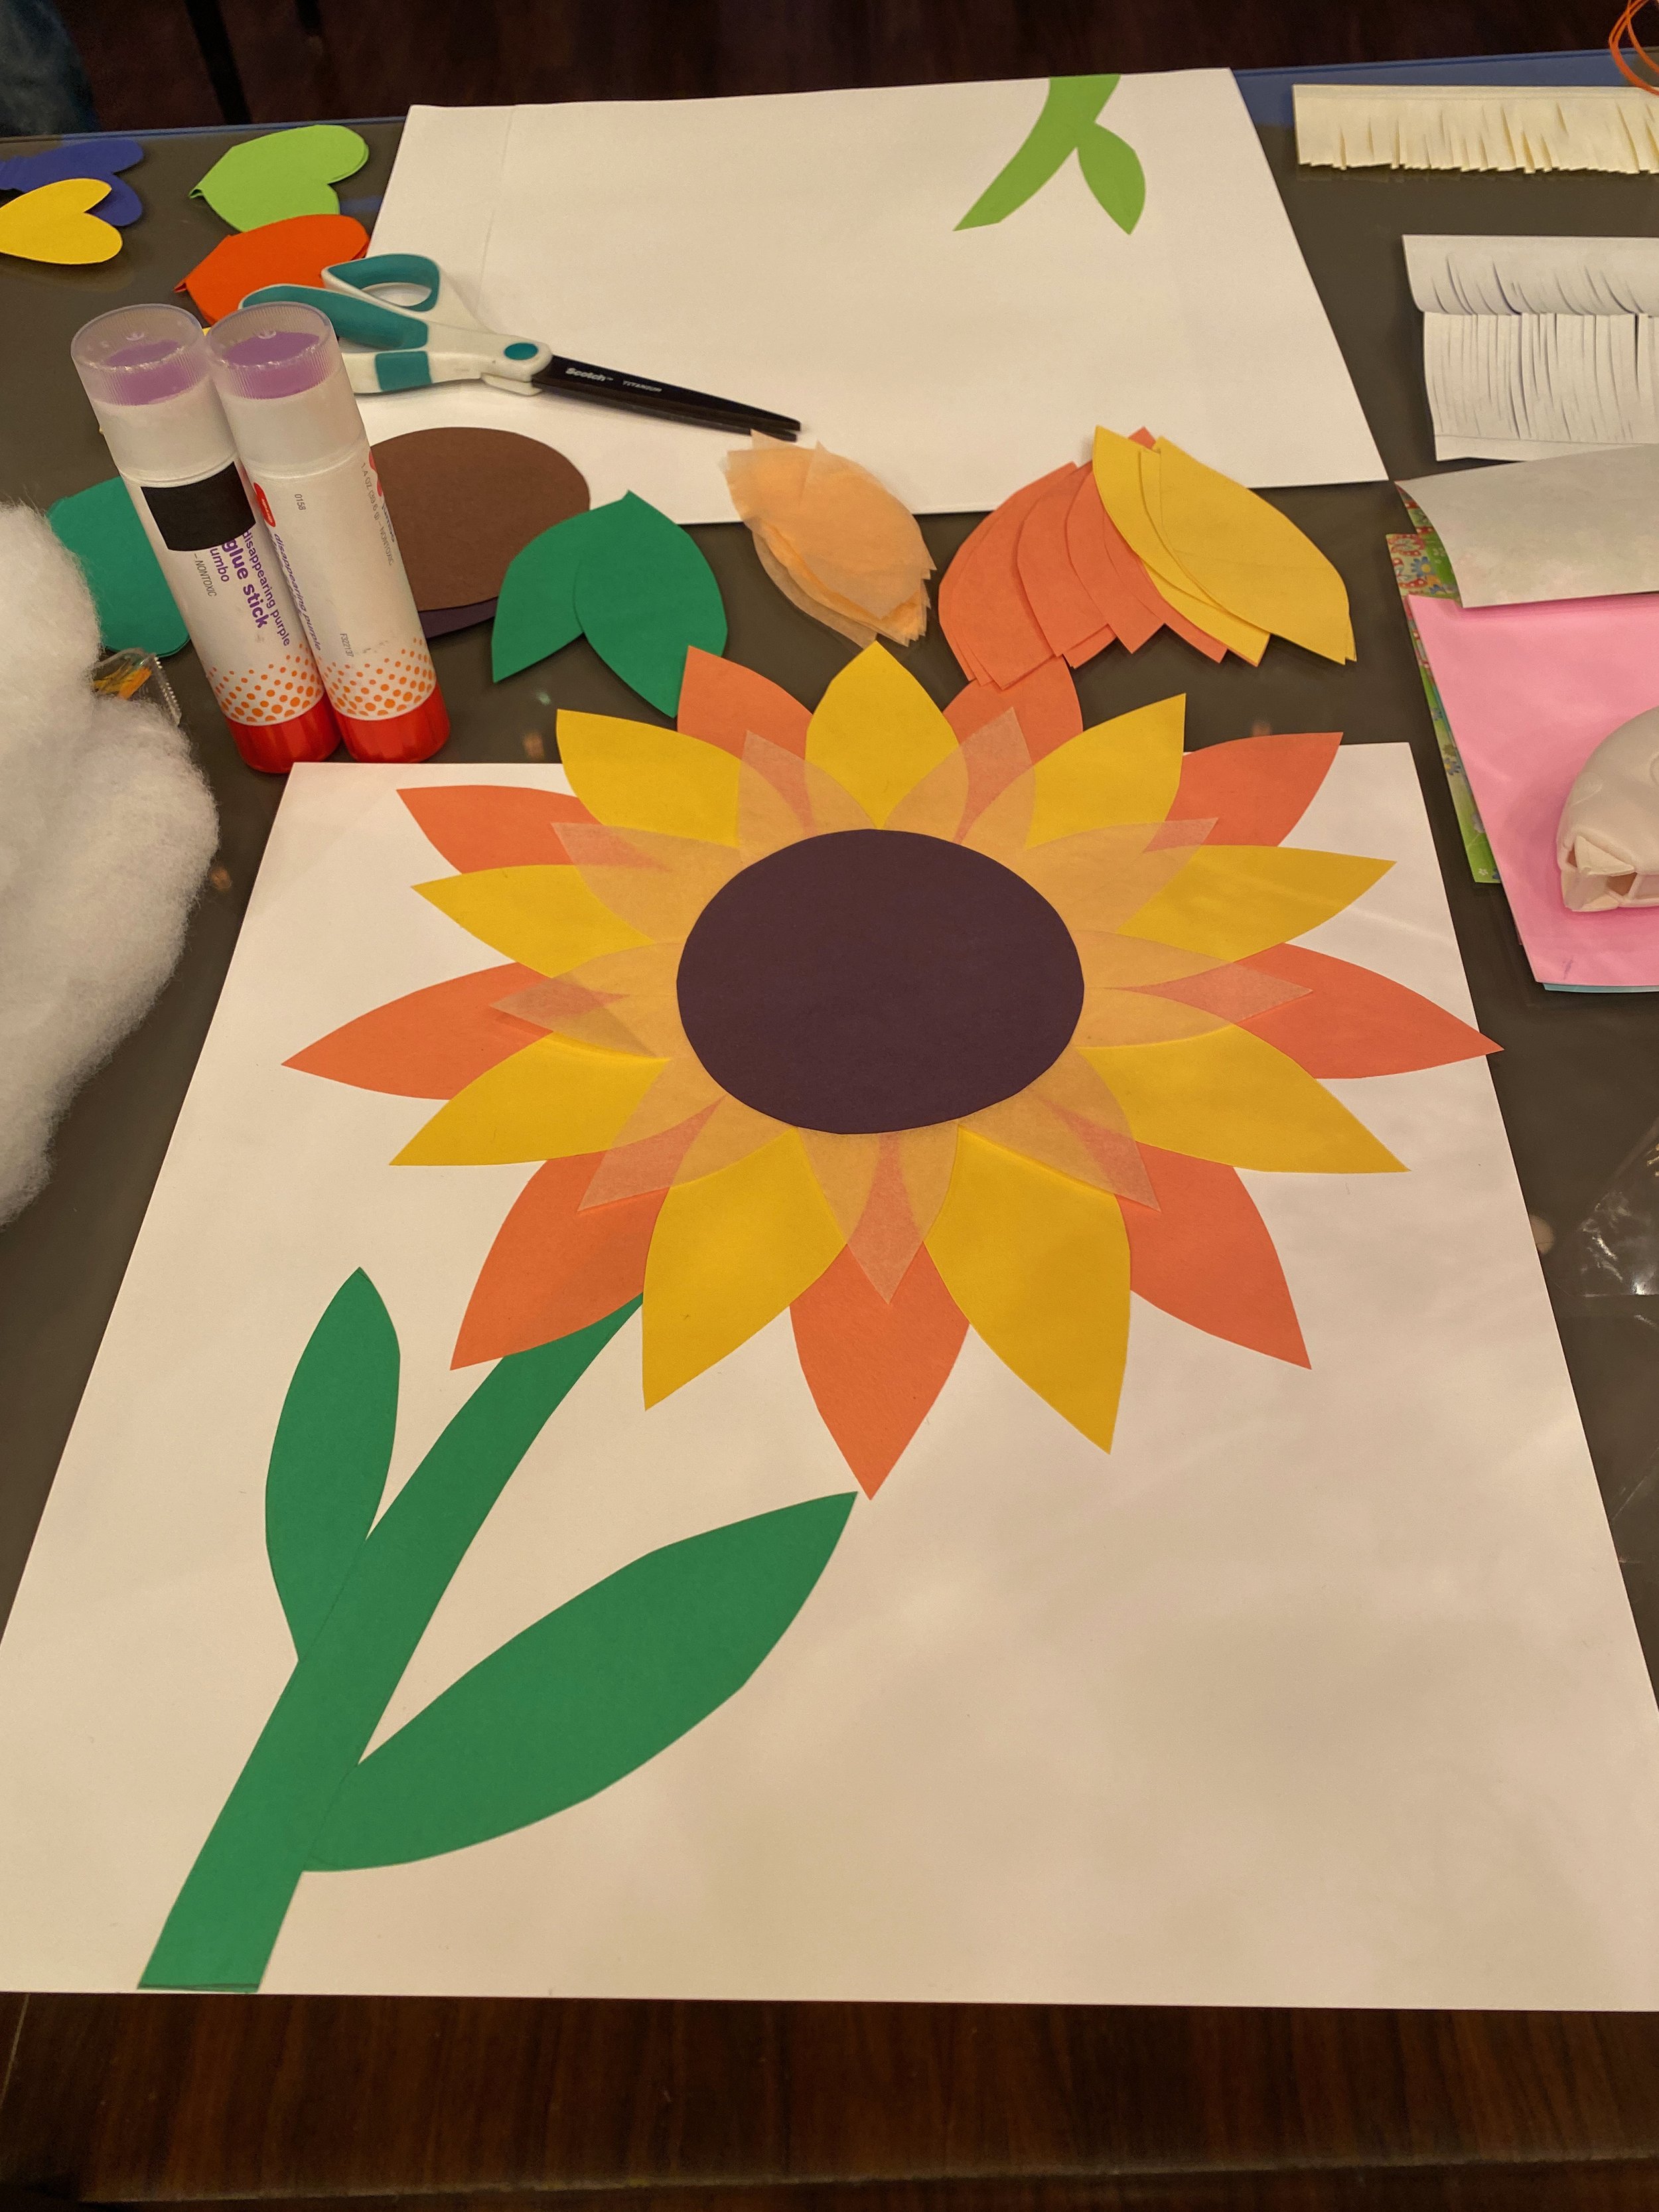
Sunny Sunflower Card
Make a sunflower card that you can then deliver to a loved one: neighbor, grandparent, friend!

Small and large marked green stencils labeled here were for petals: cardstock proved to be perfect for tracing.
The key here is to use papers of different textures for a layered petal effect that has visual texture. I used a combination of construction paper, card stock and tissue paper…yes tissue paper! I used a glue stick to secure the construction paper, and small squares of double-stick tape at just one end of the tissue paper that faced the center, so the paper would “flutter.”

Now we started out making a sunflower, but kiddos will interpret as they want and make daisies, tulips, etc!
Flutterby Mobile!
I adore this rainbow-hued butterfly mobile that can be hung up to make a real artistic statement once completed!

What You’ll Need
Styrofoam ring
String
Scissors
Assorted Cardstock papers
Hot Glue Gun
Cotton Pillow Filler (can substitute cotton balls)
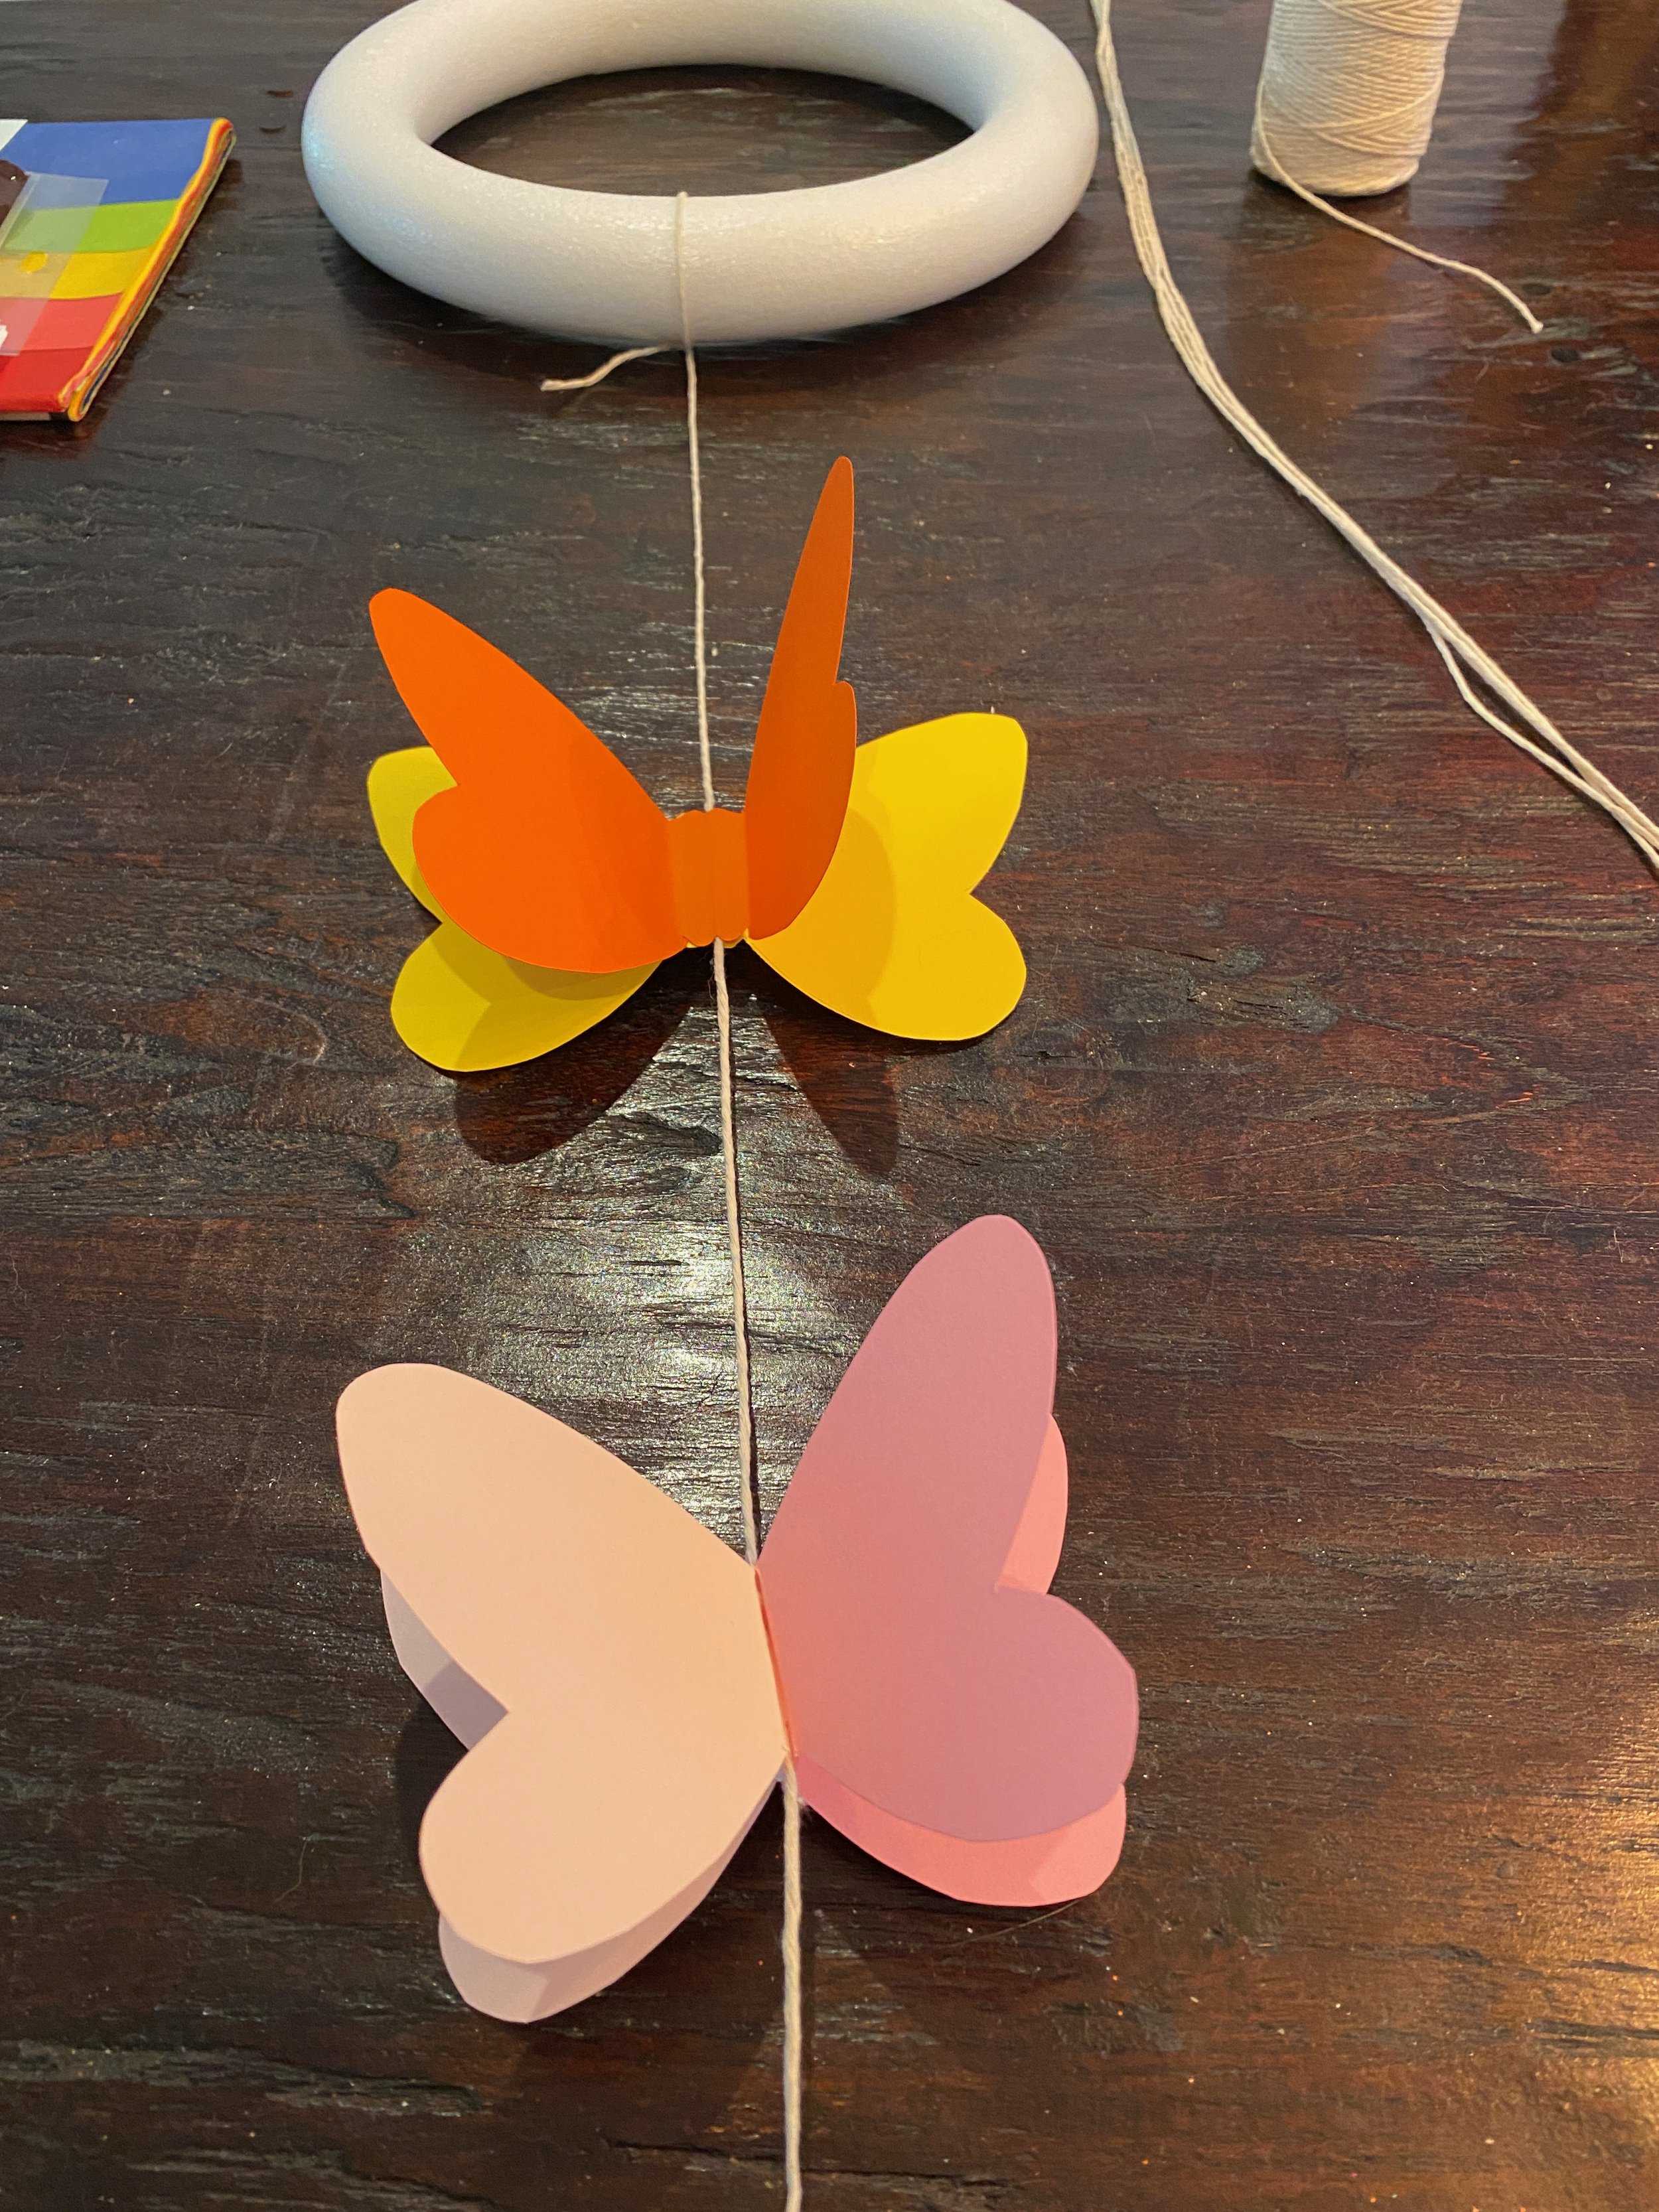
To a round styrofoam ring, evenly space and attach by knotting 5 long pieces of string to your desired length.
Cut out small (3” in diameter) and large butterflies (4” in diameter)
out of various colored cardstock.

Fold butterfly wings around the butterfly body (this makes the next step of gluing easier.)

Determine where on a given string you’d like your butterfly to be. Place a butterfly down, do a line of hot glue,
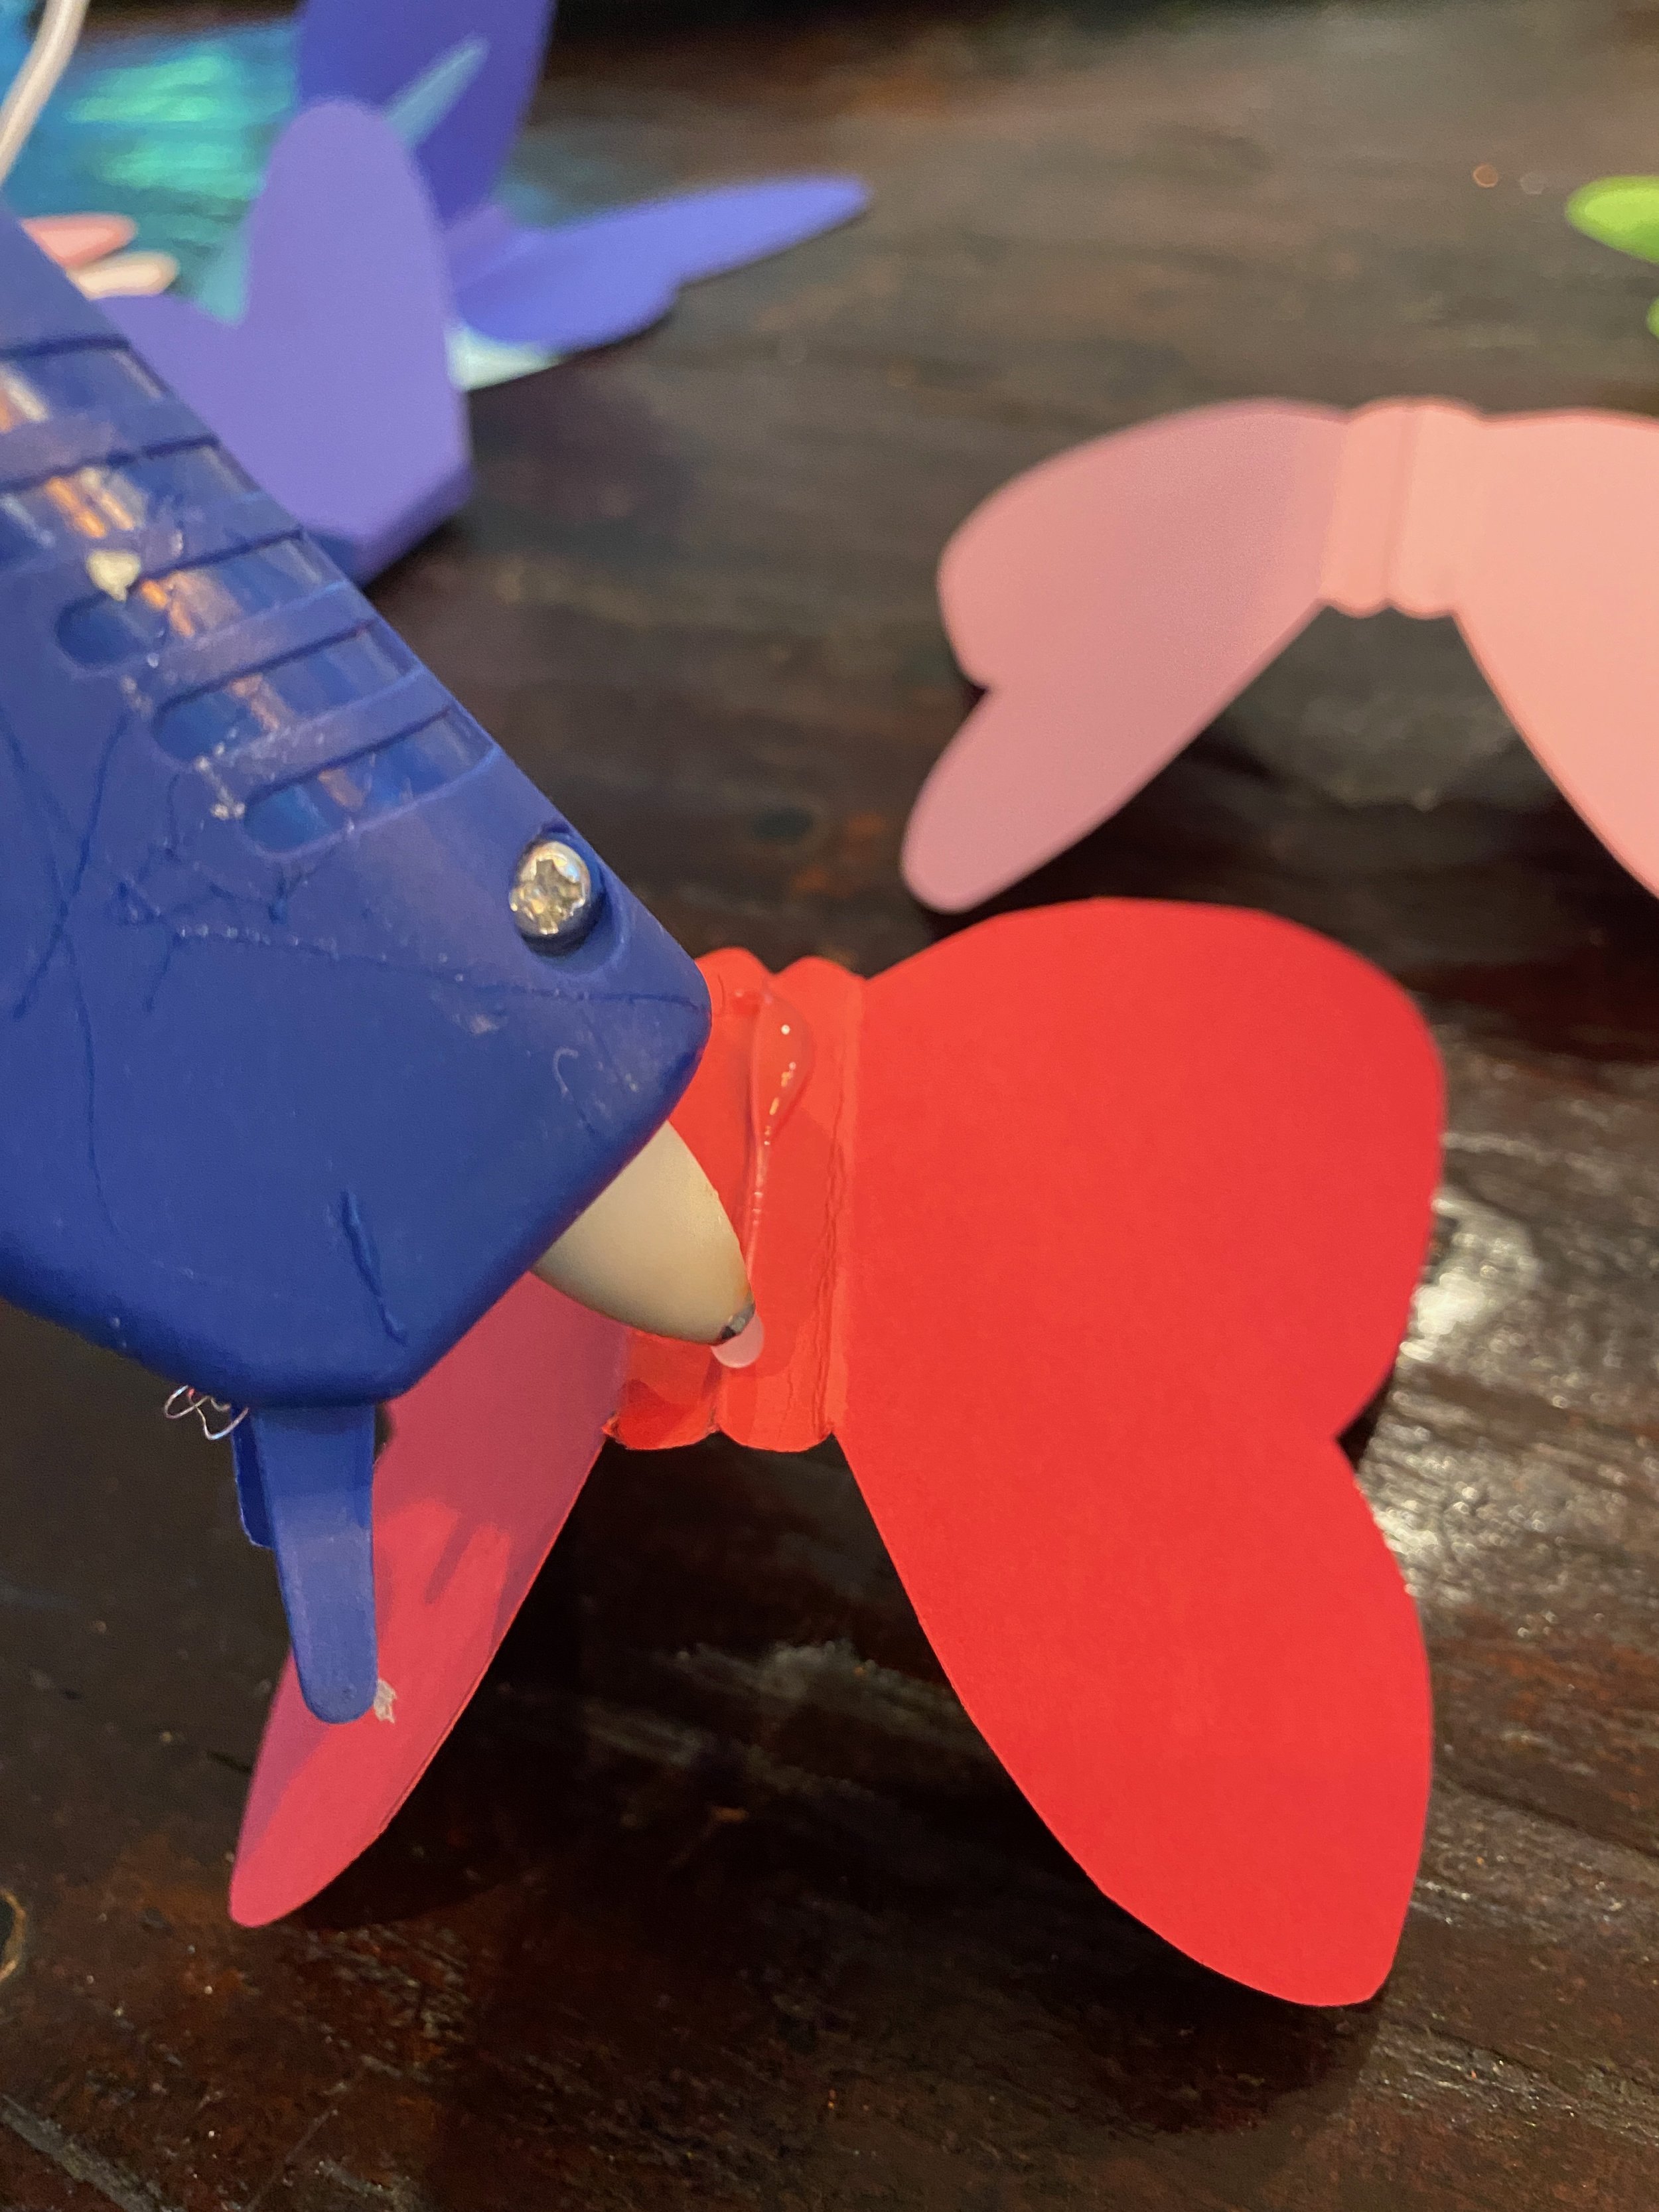
place string atop the hot glue and sandwich with another butterfly cutout on top. Squeeze butterfly bodies together. (You can do butterflies of the same color, or do dual, complementary colors which I namley did!)

Place approximately 3, glued butterflies per string. Stagger so the mobile is balanced.
I tied 3 strings on the top portion of the ring so that it could be hung. Once this is done…
Hot glue the pillow filler to the edge of the ring, to represent clouds, and then hang up your Flutterby Mobile!
Hang an Indoor Rainbow
For a festive party, as a backdrop for a playroom wall, for a boring hallway...release your color joy! Whereas the Flutterby Mobile is a craft for older kids, this Rainbow one is great for younger children.
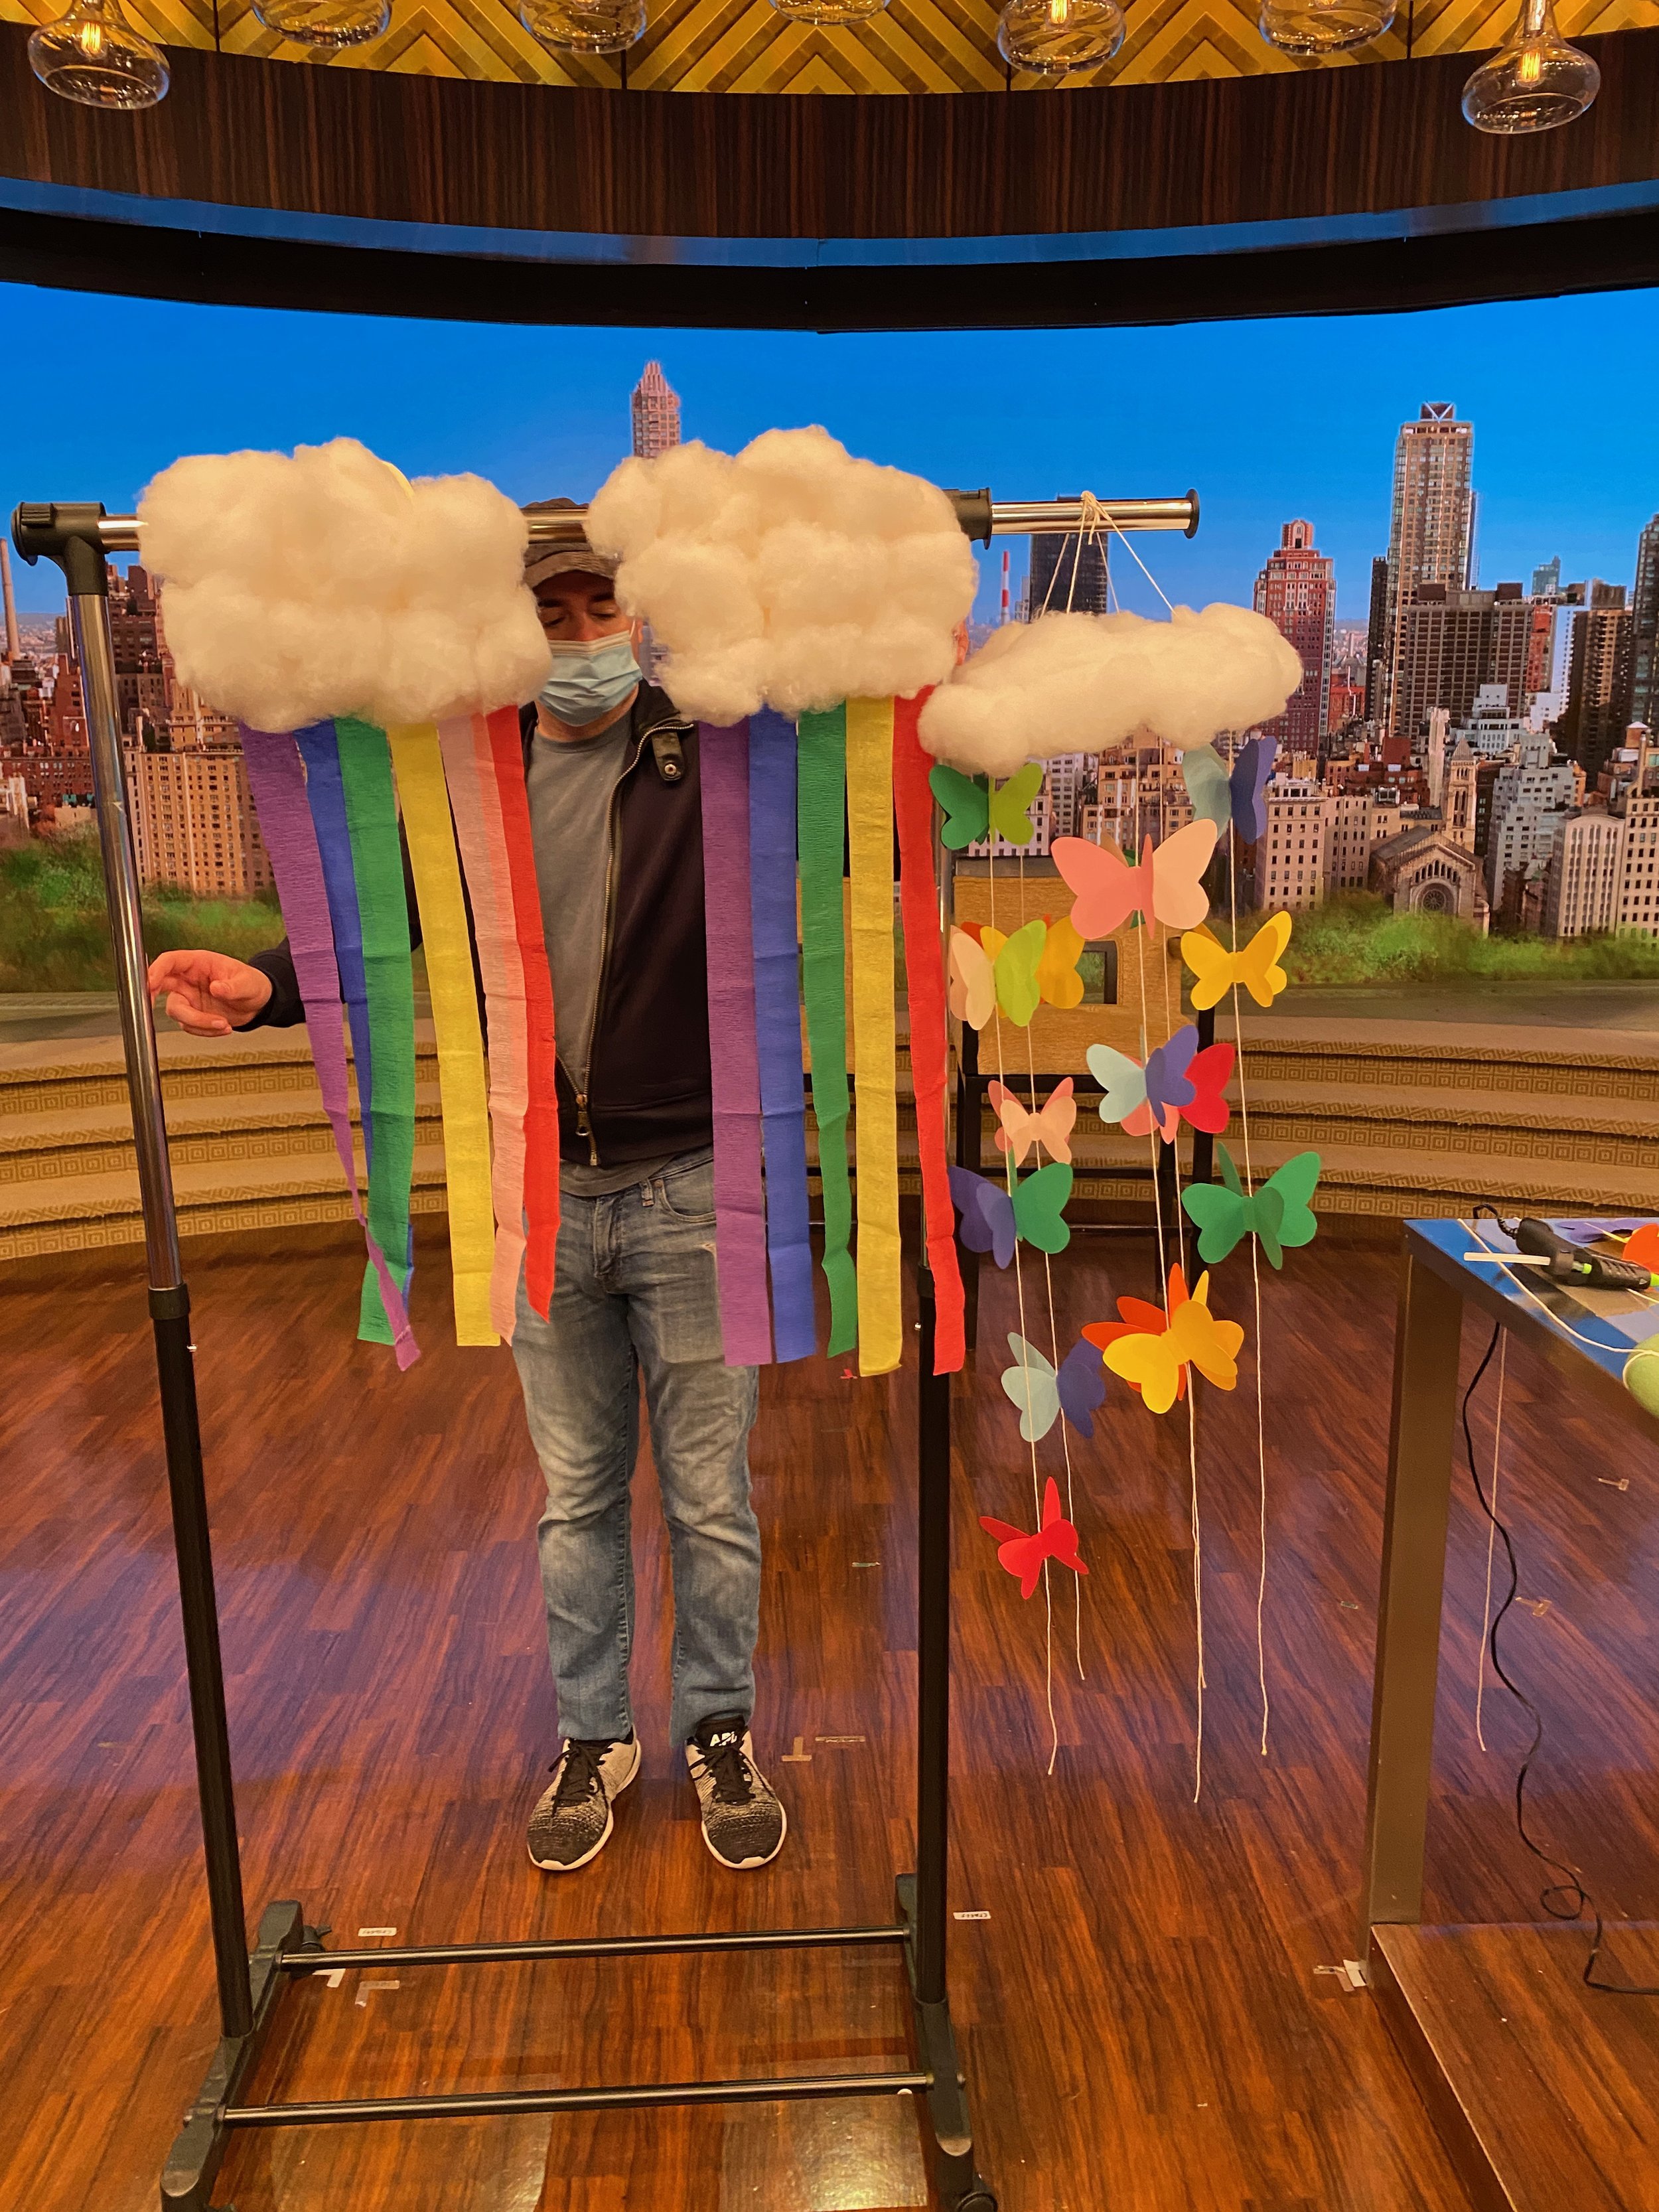
I just adore this picture of the Indoor rainbows, with the Kelly & Ryan crew member hard at work behind them!
Supplies:
Cardboard or Manilla Folder
Glue
Cotton filling or cotton balls if making a smaller version
Rainbow-hued streamer paper
Wall-safe tape
Cut out a manilla folder in the shape of a cloud. Tape the interior of the folder together. Glue on cotton filling.
Cut streamers to desired length. Tape streamers along edge of the backside of the cloud.
For the how-to on these crafts, watch the video of the segment! #editorial